
How to Hide Shipping Methods Based on Cart Contents in WooCommerce
Learn how to hide shipping methods based on cart contents in WooCommerce. Simple steps to customize your shipping options and improve checkout experience.
Cody Y.
Updated on Sep 2, 2025
So, you want to hide certain shipping methods based on what’s in your customer's cart? You can get this done in two main ways: by adding a custom PHP snippet to your theme's functions.php file or by using a dedicated conditional shipping plugin.
Honestly, for anyone who isn't a developer, using a plugin is by far the fastest and most reliable method. It lets you build out all the rules you need without ever having to look at a line of code.
Why Smart Shipping Rules Are a Game-Changer
Have you ever had a customer in Australia see "Local Pickup" as their only shipping choice? Or maybe someone tried to buy a $5 sticker, but the only option they saw was a $50 overnight service? These kinds of mismatches are more than just a small bug—they’re conversion killers. They create confusion at the worst possible moment and send would-be customers running.
This is exactly why hiding shipping methods based on what’s in the cart isn't just a nice feature; it’s essential for any serious WooCommerce store.
Automate Shipping Compliance
Block orders to restricted states automatically. 3-day free trial.
Start Free TrialIt's not about a technical tweak for the sake of it. This is all about creating a checkout experience that’s logical, smooth, and trustworthy. When the shipping options actually make sense for the items in the cart, your customers will feel much more confident hitting that "buy now" button.
Improving the Customer Journey
A clean, logical checkout process has a direct impact on your sales. Imagine a customer from California seeing an option for "London Same-Day Delivery." It instantly signals that your store is sloppy or poorly configured. By hiding irrelevant options, you immediately clean things up.
- Reduce Confusion: A short, relevant list of choices prevents customers from getting overwhelmed.
- Build Trust: A smart checkout makes your business look professional and buttoned-up.
- Prevent Errors: You stop customers from accidentally picking a shipping method that’s impossible to fulfill or way too expensive.
Getting your shipping rules right is a powerful strategy to improve ecommerce conversion rates because it removes friction right at the finish line.
Protecting Your Profit Margins
Smart shipping rules are also about protecting your own bottom line. Picture this: you’re running a "Free Shipping" promotion on all orders, and someone buys a 150lb piece of freight equipment. If you don't have a rule in place to hide that free shipping option for certain product categories or heavy items, you could lose hundreds of dollars on a single order.
By hiding free or flat-rate shipping for bulky, heavy, or fragile items, you ensure that your shipping costs remain predictable and your profit margins are protected from costly logistical errors.
The rise of multi-carrier shipping integrations has made this even more powerful. Modern tools can connect to over 100 carriers, pulling in live shipping rates at checkout. This technology has been shown to reduce cart abandonment by up to 20% by showing customers only the most accurate and relevant options for what's in their cart. You can learn more about WooCommerce multi-carrier solutions from 1teamsoftware.com and how they streamline this process.
Getting to Grips with WooCommerce Shipping Zones and Classes
Before you can start hiding shipping methods based on what’s in the cart, you have to get your head around WooCommerce’s core shipping setup. It’s like learning the rules of the road before you get behind the wheel. The whole system is built on three key pieces: Shipping Zones, Shipping Methods, and Shipping Classes. You absolutely have to understand how these three work together to build any kind of smart, conditional logic.
Let's start high-level. A Shipping Zone is just a geographic area you define. This can be as big as an entire country, like "United States," or as laser-focused as a single ZIP code, say "90210." When a customer types in their address at checkout, WooCommerce figures out which zone they belong to. Simple enough.
A Shipping Method is the actual service you offer inside that zone. Think "Flat Rate," "Free Shipping," or "Local Pickup." You can set up several methods for one zone, giving your customers a few choices.
Free Shipping Compliance Audit
We'll review your WooCommerce store's shipping compliance for free.
The Real Power: Shipping Classes
This is where you get granular control for rules based on cart contents. A Shipping Class is basically a tag you can slap onto a group of similar products. For instance, you could create classes like "Bulky Items," "Fragile," or "Perishables." This setup lets you apply different shipping rules to specific product types without messing with each product one by one.
This structure is the foundation of all WooCommerce shipping. Zones handle the where, methods define the how, and classes nail down the what. If you're new to this, it's worth brushing up on the fundamentals; you can find more insights on WooCommerce shipping basics on thedotstore.com to really solidify your understanding.
Here’s a look at what it looks like to create a new shipping zone right in your WooCommerce dashboard.

As you can see, the screen asks for a zone name and the regions it applies to—which you can define by country, state, or even postal codes. Every single shipping rule you create for a geographic area starts right here.
Key Takeaway: You can't hide a shipping method that doesn't exist inside a properly set-up shipping zone. Always start by defining your geographic targets first, then layer on your methods and class-based rules.
Let’s use a real-world example. Imagine your store sells both regular-sized products and some huge, heavy equipment that requires special handling.
You might configure things like this:
- Shipping Zone: United States
- Shipping Class: Freight
- Shipping Methods in Zone:
- Standard Shipping ($10)
- Freight Shipping ($250)
With that structure in place, your goal is clear: hide the "$10 Standard Shipping" option whenever an item with the "Freight" class is in the cart. Without this basic framework, you’ve got nothing to build your rules on. This hierarchy is mission-critical, especially for more complex scenarios where you might need to block shipping to specific states with WooCommerce plugins, since that logic also relies on zones.
Once you have these building blocks sorted, you’re ready to add the custom logic we'll cover next.
Using Code Snippets for Total Control
For those who don't mind getting their hands dirty with a little code, this method offers the most flexibility and power. When you write the rules yourself, you’re not limited by a plugin's interface. Instead, you can craft highly specific logic tailored precisely to your store’s needs.
The magic behind this is a powerful tool in WooCommerce called a filter hook. Specifically, we'll be using the woocommerce_package_rates filter. This hook lets us intercept the available shipping rates right before they’re shown to the customer at checkout. It gives you a final chance to look at the list of shipping methods and decide which ones to keep and which ones to kick out based on what’s in the cart. This approach is lightweight, direct, and puts you in complete control.
Where to Safely Add Your Code
Before we dive into the code itself, let's talk about where it should go. Never, ever add custom PHP directly into your main theme’s functions.php file. The moment your theme updates, all your hard work will be erased forever.
You have two safe, reliable options:
- A Child Theme: Create a child theme and add your code to its
functions.phpfile. This is the classic, industry-standard way to make theme modifications. - A Code Snippets Plugin: Use a free plugin like Code Snippets. This creates a user-friendly interface inside your WordPress dashboard for adding and managing PHP snippets without ever touching a theme file. For most folks, this is the easiest and safest route.
This flow diagram gives you a simplified look at adding a PHP snippet to your site.
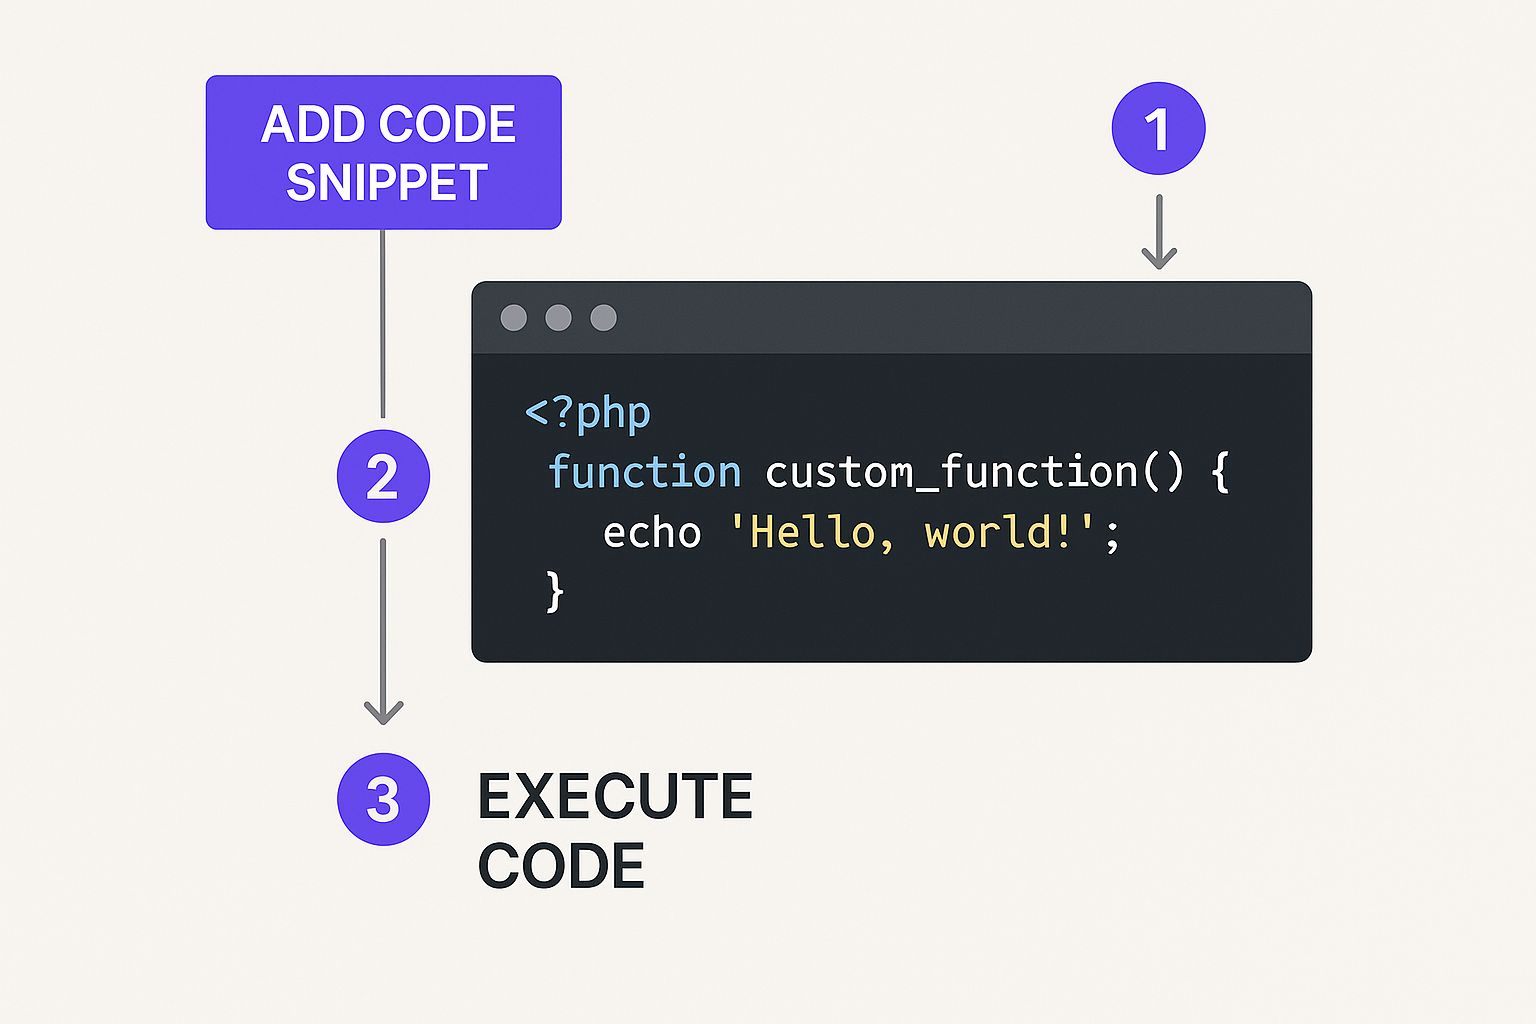
This visual shows the core action: injecting custom logic into your site’s functions, which is the foundation of this entire method.
Hiding Other Methods When Free Shipping is Available
One of the most common reasons to do this is to simplify the checkout when a customer qualifies for free shipping. Showing "Free Shipping" alongside a paid "Standard Shipping" option for $5.00 can be confusing. It makes customers second-guess their choice, adding unnecessary friction. The goal is simple: once free shipping is triggered, make it the only option.
Here’s a practical code snippet that gets it done. It checks if 'free_shipping' is one of the available methods, and if it is, it scraps all the others.
add_filter( 'woocommerce_package_rates', 'hide_shipping_when_free_is_available', 100 );
function hide_shipping_when_free_is_available( $rates ) { $free = array(); foreach ( $rates as $rate_id => $rate ) { if ( 'free_shipping' === $rate->get_method_id() ) { $free[ $rate_id ] = $rate; break; } } return ! empty( $free ) ? $free : $rates; } This function loops through the available rates, finds the free shipping option, and if it exists, returns only that option. If not, it returns the original list of rates unchanged. It’s a clean and effective way to reduce checkout confusion.
Hiding Shipping for a Specific Product Category
Now, let's tackle a more targeted scenario. Imagine you sell large, bulky furniture that requires special freight shipping. You'll want to hide standard shipping options whenever an item from the "Furniture" category is in the cart. This is crucial for preventing customers from accidentally selecting a cheap, inappropriate shipping method for an oversized item.
This isn't just about convenience—it's about protecting your bottom line. A single shipping miscalculation on a large item can easily wipe out the entire profit from that sale.
To pull this off, you need to loop through the items in the cart and check their product category.
Here’s the basic logic you'd implement:
- Iterate through the cart contents inside your function.
- Check each product's category. You can use a function like
has_term()to see if a product belongs to 'furniture'. - Set a flag if a furniture item is found.
- If the flag is set,
unsetthe standard shipping methods you want to hide, like 'flat_rate' or 'local_pickup'.
This approach gives you surgical control over how to hide shipping methods based on cart contents in WooCommerce, ensuring every order has the right (and profitable) shipping choices presented at checkout. It really shows the true power of using code snippets for custom e-commerce logic.
Choosing a Plugin for a No-Code Solution
Let's be honest, the idea of digging into your theme’s functions.php file is enough to give most store owners a headache. For many, a no-code solution is the way to go when you need to hide shipping methods based on what's in the cart. This is where dedicated plugins really come into their own.
Instead of wrestling with custom code, these tools give you powerful rule-building interfaces. Think simple dropdowns, checkboxes, and text fields that replace complex PHP. It’s a faster, safer, and far more accessible approach, especially if you have a lot of shipping conditions to manage. The right plugin lets you focus on your business, not on debugging code.

This approach is incredibly popular for good reason. Adoption of these plugins has grown fast, with some of the top solutions boasting over 10,000 active installations and stellar reviews. They empower merchants to create incredibly specific rules that cover everything from product categories and cart weight to customer roles and coupon codes.
Building Rules Without Code
Let's walk through a classic scenario. Imagine you offer "Local Pickup," but you need to hide it for any cart containing a product from the "Hazardous Materials" shipping class. These items require special handling and definitely can't be picked up in person.
With a plugin, the process is dead simple:
- Head to the plugin's rule editor in your WordPress dashboard.
- Create a new rule.
- Set the condition to "Shipping Class is Hazardous Materials."
- Define the action as "Hide Shipping Method(s)."
- Select "Local Pickup" from the list of methods to hide.
That's it. In just a few clicks, you've built a solid rule that prevents logistical mistakes. The plugin handles all the backend logic, applying the rule correctly every time a customer's cart gets updated. You can use this same intuitive process for countless other situations.
Key Takeaway: Plugins translate complex business logic into simple, manageable settings. This not only saves time but also dramatically reduces the risk of human error that can come with manual coding.
Practical Scenarios Solved by Plugins
The real power of a plugin becomes clear when you start tackling more specific, real-world shipping challenges. They give you a level of control that can be tough to achieve and maintain with custom code alone.
Here are a few examples I've seen put to good use:
- Hiding by Subtotal: Hide expensive express shipping for orders under $50 to prevent sticker shock and reduce cart abandonment.
- Hiding by Coupon Code: Offer a "Members Only" delivery option that only appears when a specific coupon is used.
- Hiding by Product Dimensions: If a product is too large for a standard mailer, you can automatically hide the "Small Parcel" shipping method.
These granular controls are essential for stores selling regulated items. For instance, if you're an alcohol vendor, you might need to set up rules based on state laws. Our guide on WooCommerce alcohol shipping restrictions dives into similar principles that rely on this kind of precise rule-building. And if you're looking to improve other parts of your store, checking out a list of essential WordPress plugins is a great next step.
Solving Advanced and Common Shipping Issues
Once you've nailed down your basic shipping rules, you'll inevitably hit more complex scenarios. This is where the real work begins—moving from a simple setup to actively managing the tricky situations that pop up in a busy e-commerce store. Learning how to troubleshoot these problems is just as important as knowing how to build the rules in the first place.
Many store owners, for example, need to layer multiple conditions. You might want to hide express shipping, but only for products in the "Heavy Items" class that are also going to a specific country like Australia. This kind of layered logic is a must-have for international sales where shipping costs can skyrocket.
Another common case is setting up special rates for wholesale customers. This means hiding your standard retail shipping options based on a customer's user role, ensuring B2B clients only see the options meant for them.
When Your Shipping Rules Don't Work
There’s nothing more frustrating than setting up a rule perfectly, only to see it fail on the live site. Before you tear your hair out and start from scratch, run through a quick checklist of the usual suspects.
- Caching Conflicts: An aggressive cache from your host or a plugin can keep showing an old version of your checkout page. Always purge all site and server caches after tweaking your shipping rules.
- Plugin Clashes: Another plugin, especially one that fiddles with the cart or checkout, could be causing a fight. The classic troubleshooting method works best here: deactivate other plugins one by one to find the culprit.
- Typographical Errors: It happens to the best of us. A simple typo in a shipping class slug or a method ID is often the hidden problem. Double-check that every piece of text in your rule matches the WooCommerce setting exactly—it’s case-sensitive!
Troubleshooting is just a process of elimination. More often than not, the problem isn't your logic. It's an external factor like a caching plugin or a conflict. A little patience here will save you a massive headache later.
Common Problems and Their Solutions
Beyond technical glitches, you might find your rules just don't account for every possible order. For instance, what happens when a customer has both a regular product and a restricted one in their cart? You need a rule that can handle this mixed-cart situation gracefully.
The goal is to make sure the most restrictive shipping requirement always wins. For a deep dive into this exact problem, our guide on how to restrict shipping by product in WooCommerce breaks down some powerful strategies.
Ultimately, solving these advanced issues comes down to understanding your shipping hierarchy. By thinking through complex cart combinations and methodically checking for common tech conflicts, you can build a rock-solid shipping system that adapts to any order—protecting both your customer experience and your profit margins.
Common Questions About Hiding Shipping Methods
Even with a clear plan, setting up conditional shipping rules can bring up a few tricky questions. I've run into most of them myself over the years. Here are answers to the most common queries store owners have when they start hiding shipping methods based on what's in the cart.
Can I Hide All Other Methods When Free Shipping Is Active?
Yes, and you absolutely should. Showing a list of paid options right next to a "Free Shipping" offer just creates confusion at the best possible moment—right when your customer is ready to buy.
Think about it from the customer's perspective. They just hit the free shipping threshold, and you're still asking them to consider paying? It introduces friction. In fact, the Baymard Institute found that 21% of shoppers abandon carts because of a long or confusing checkout process. Cleaning up the options is a simple, proven way to boost conversions.
Both code snippets and plugins can handle this easily. The logic is straightforward: if the free_shipping rate is available, then simply remove everything else. This makes the reward clear and the next step obvious.
What if a Cart Has Products with Conflicting Rules?
This is a great question and something you'll definitely encounter. Imagine a customer has a regular t-shirt and a bulky, oversized item in their cart, each with its own specific shipping rules. A well-configured system needs a tie-breaker, and it should always default to the most restrictive rule to protect your business.
Let's walk through a real-world example:
- Item A: A small widget that qualifies for "Standard Shipping."
- Item B: A heavy piece of equipment that requires "Freight Shipping" and is configured to hide all standard options.
In this scenario, the checkout should only show "Freight Shipping" for the entire order. This is critical. You never want to accidentally undercharge for shipping on a mixed cart—that’s a mistake that can silently eat away at your profits.
My Two Cents: Always, always test your mixed-cart scenarios before you go live. Throw products with different shipping classes, weights, and categories into the cart together. Your goal is to make sure your rules interact exactly as you expect, creating a predictable and logical outcome every single time.
Ready to automate your shipping compliance and stop worrying about costly errors? Ship Restrict offers the most powerful rule-based shipping solution for WooCommerce, letting you create granular restrictions by state, county, city, or ZIP code. Take back control of your checkout. Learn more about Ship Restrict.
Automate Shipping Compliance
Stop worrying about restricted states. Ship Restrict handles it automatically.

Cody Yurk
Founder and Lead Developer of ShipRestrict, helping e-commerce businesses navigate complex shipping regulations for regulated products. Ecommerce store owner turned developer.
Automate Shipping Compliance
- Block restricted states
- No more cancellations
- Set and forget
3-day free trial · Card required