How to Restrict Shipping by Product in WooCommerce: Easy Guide
Learn how to restrict shipping by product in WooCommerce with our simple, step-by-step guide. Improve shipping control and enhance customer experience today!
Cody Y.
Updated on Aug 23, 2025
Look, every WooCommerce store owner eventually hits a wall with the standard shipping settings. You've got that one product—maybe it's fragile, perishable, oversized, or even legally restricted—and suddenly, your one-size-fits-all shipping rates just don't work anymore.
This is where product-specific shipping rules become more than just a nice feature. They're absolutely essential for keeping your store profitable, compliant, and your customers happy.
Why Product-Specific Shipping Is Crucial for Your Store
Without the ability to set shipping rules for individual products, you’re flying blind. Imagine you sell a heavy piece of furniture and a customer chooses an expensive express shipping option at checkout because you couldn't block it for that specific item. That mistake comes right out of your profit margin.
Even worse, you could accidentally ship a product to a state or country where it's legally prohibited. The consequences there are far more serious than just a lost sale.
Automate Shipping Compliance
Block orders to restricted states automatically. 3-day free trial.
Start Free Trial
Common Scenarios Demanding Granular Control
Let’s get into the real-world situations where WooCommerce’s default tools just don’t cut it. These are the moments when you realize you need precise control over who can buy what.
- Perishable Goods: If you're selling gourmet foods or fresh flowers, long transit times are a death sentence for your products. You have to restrict shipping to certain zones and completely disable slower ground shipping methods.
- Oversized or Heavy Items: That beautiful oak desk you sell isn't going to fit in a standard USPS flat-rate box. It probably needs freight shipping, and you must block customers from choosing standard (and impossible) carrier options.
- Hazardous Materials: Things like lithium batteries or certain chemicals come with strict shipping regulations. They often can't be sent by air, period. You need a rule to enforce that automatically.
- Legal and Regulatory Compliance: This is non-negotiable. If you sell products like ammunition or alcohol, you can't ship them to certain states. With over 30 U.S. states having specific ammunition shipping laws, trying to manage this manually is a recipe for disaster. Automated, product-level restrictions are the only way to stay compliant. You can learn more about limiting shipping for regulated items on pluginhive.com.
By managing these scenarios before they become problems, you shift from a reactive shipping strategy—fixing costly errors after they happen—to a proactive one that protects your business. This level of control isn't just a tool; it's a game-changer for any serious eCommerce store.
Before you can really get a handle on restricting shipping for specific products, it helps to first understand what WooCommerce can—and can’t—do on its own. Straight out of the box, WooCommerce gives you a decent but pretty basic set of tools for shipping. It all boils down to three core parts that have to work together.

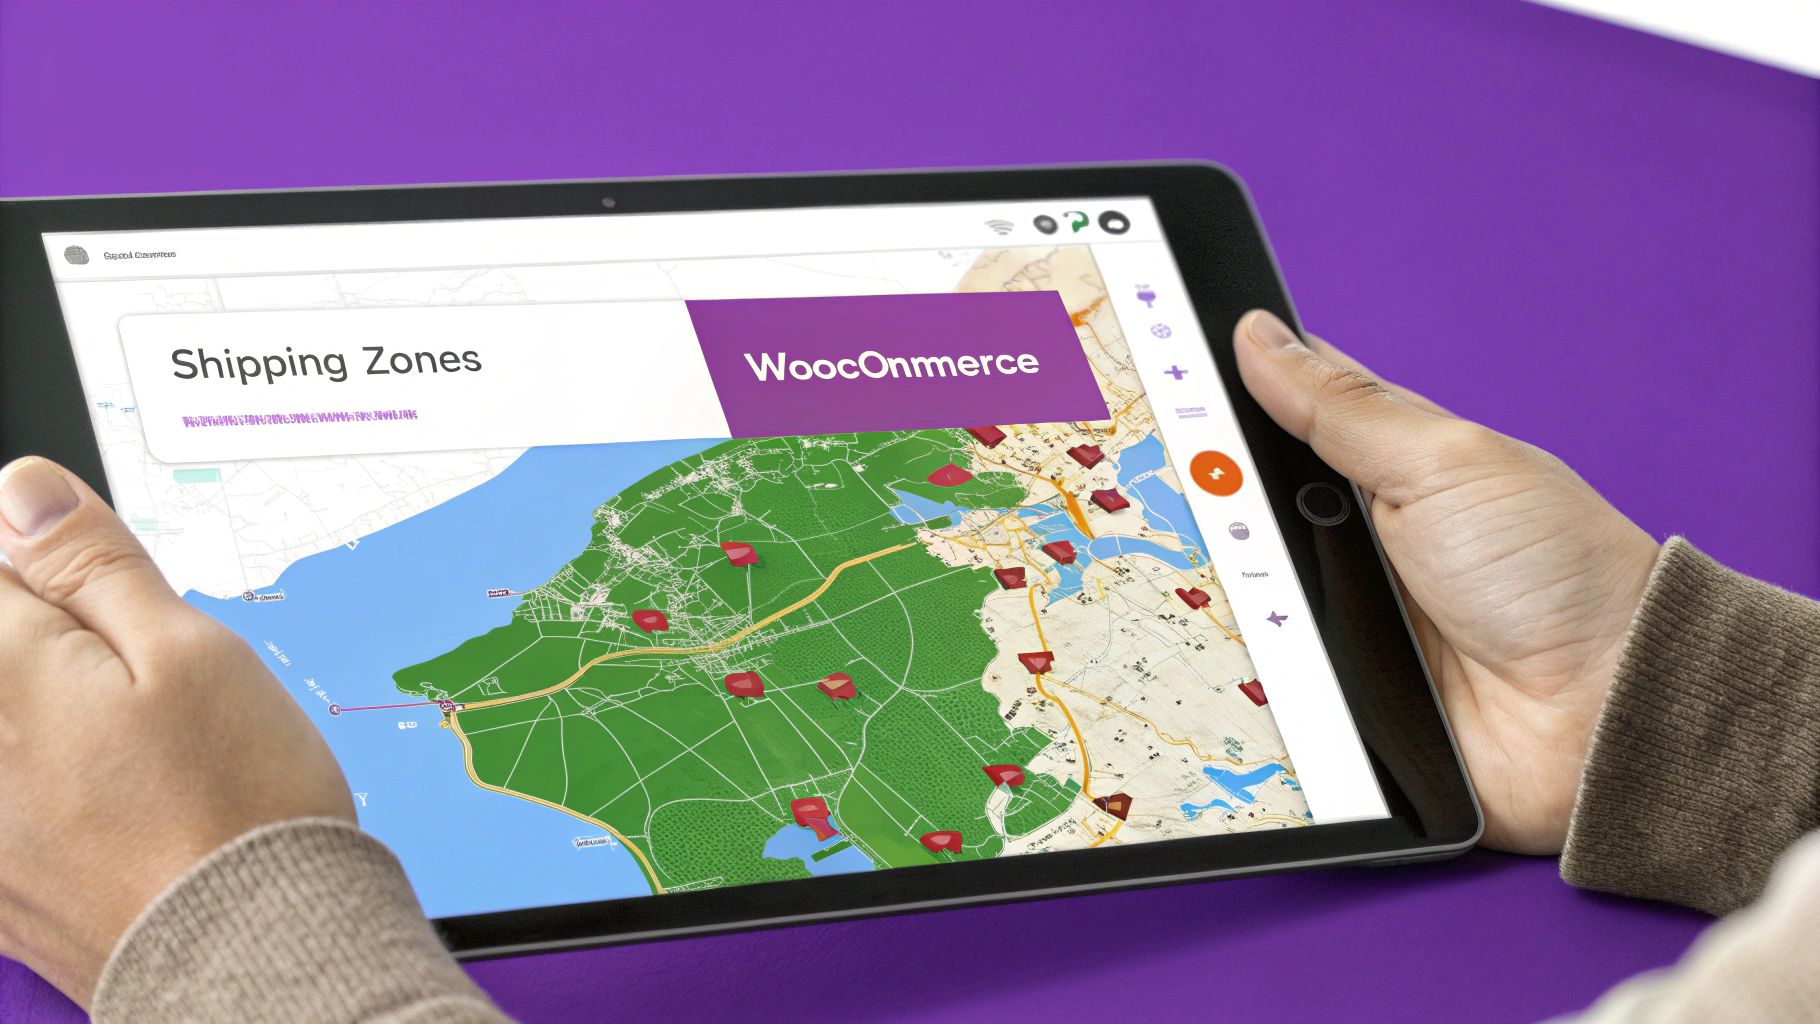
This built-in system is built on Shipping Zones, Shipping Classes, and Shipping Methods. You can think of them as a simple hierarchy: they figure out where you ship, what you're shipping, and how it gets from A to B.
The Building Blocks of WooCommerce Shipping
Let's break down how these pieces fit together to form your store's default shipping logic.
- Shipping Zones: These are just the geographic areas you're willing to ship to. You can set up zones by country, state, or even a specific list of ZIP codes. A common setup is having one zone for the continental U.S. and another for trickier places like Alaska and Hawaii.
- Shipping Methods: For each zone you create, you then have to assign one or more shipping methods. These are the actual choices your customers will see at checkout, like "Flat Rate," "Free Shipping," or "Local Pickup."
- Shipping Classes: This is where it gets a little more specific. You can group similar products together using classes like "Bulky," "Fragile," or "Lightweight." From there, you can set different shipping costs for these classes within your Flat Rate methods.
This system is great for simple scenarios, like charging more to ship a heavy item to California than a small one to Texas. But this is exactly where you start to see the cracks. The whole native system is designed around zones and methods, which is a solid foundation, but it's not very flexible. While you can control which areas get certain shipping options, the system has no built-in way to restrict shipping for individual products without a lot of extra work. You can find the official breakdown of this on the WooCommerce shipping settings documentation page.
The bottom line is that native WooCommerce manages shipping based on location and broad product groups (classes), not on a per-product basis. It can't, for example, stop a customer from choosing an overnight air option for an item that can only be sent via ground freight.
This limitation is precisely why a more specialized tool is necessary for stores with complex shipping rules. To get that fine-grained control, you have to look beyond what WooCommerce offers by default. To dig deeper into this, check out our guide on how to restrict shipping in WooCommerce with advanced rules.
How to Choose the Right Shipping Restriction Plugin
The WooCommerce marketplace is flooded with options, and picking the right tool to restrict shipping by product can feel overwhelming. This isn't just about adding a feature; it’s about finding a solution that slots neatly into your operations without creating new headaches. A great plugin should feel like a natural extension of your store, not a clumsy add-on.
Your first focus should be the granularity of the rules you can create. Don't settle for plugins that only offer a basic on/off switch. You need layered, conditional logic to handle real-world shipping complexities. Can you restrict a product based on its category, tag, or maybe a custom attribute? Even better, can you combine those conditions? A common scenario is blocking express shipping for products in a "Heavy" category, but only when the destination is a specific state. That’s the kind of control that saves you money and prevents fulfillment errors.
Free Shipping Compliance Audit
We'll review your WooCommerce store's shipping compliance for free.
Key Factors in Your Decision
Beyond just creating rules, a few other factors are critical for long-term success. I've seen too many store owners pick a plugin with flashy features only to regret it later.
Here’s what to look for:
- User Interface (UI): A clunky, confusing interface will slow you down every single time you need to make a change. The best tools have an intuitive design that makes creating and managing rules quick and painless, even if you’re not a developer.
- Performance: This is a big one. A poorly coded plugin can noticeably slow down your checkout process, which is a direct hit to your conversion rate. Always check recent reviews and look for any mentions of site speed or performance hits.
- Support and Updates: Is the developer actively supporting the plugin? Look for a recent "last updated" date. Regular updates are non-negotiable for compatibility with new WooCommerce versions and for patching security holes. Good support can save you hours of frustration when you're in a bind.
- Transparent Pricing: Avoid plugins with hidden fees or convoluted pricing tiers. You need a crystal-clear understanding of the total cost and exactly what features you're getting for your money.
To help clarify what really matters, let's break down the essential features in a table.
Essential Features for a Shipping Restriction Plugin
This table compares key functionalities to look for when choosing a plugin to manage product-specific shipping rules in WooCommerce.
| Feature | Why It's Important | Example Use Case |
|---|---|---|
| Multi-Condition Rules | Allows for complex logic beyond simple on/off. | Blocking frozen goods (Category) from shipping to a warm state (Location) via ground service (Shipping Method). |
| Location-Based Rules | Essential for navigating regional laws and carrier limits. | Restricting alcohol sales to specific states or ZIP codes where you hold a license. |
| Product-Level Control | Gives you granular control over individual items. | Disabling air freight for a single, hazardous material product without affecting the rest of the catalog. |
| Customizable Messaging | Informs customers why a shipping option isn't available, reducing cart abandonment. | Displaying "Overnight shipping is unavailable for this oversized item" instead of just hiding the option. |
| Performance Optimization | Prevents checkout slowdowns that can kill conversions. | A high-volume store needs a plugin that doesn't add seconds of processing time to every cart calculation. |
| Active Development | Ensures compatibility with future WooCommerce updates and security patches. | A plugin updated last week is a much safer bet than one that hasn't been touched in two years. |
Choosing the right tool from the start saves you the major headache of migrating complex rules to a new system down the road.
Ultimately, the goal is to find a plugin that solves your specific shipping challenges reliably. Take the time to evaluate these key areas to ensure your choice is a strategic investment rather than a temporary fix that will cause problems later on.
Setting Up Your First Product Shipping Rule
Alright, you’ve got the plugin installed. Now, let’s put it to work. We're going to walk through creating a practical, real-world rule from scratch—one that nearly every store with a varied inventory needs: blocking expensive express shipping for oversized items. This isn't just theory; it's about protecting your profit margins from those disastrous shipping miscalculations.
The first step is always knowing your goal. For this example, our goal is to stop customers from selecting "Next Day Air" for any product in our "Oversized" shipping class. With that objective locked in, we can dive into the settings.

This simple, three-part structure is the foundation for every shipping rule you'll build, from the most basic to the wildly complex. It all comes down to identifying the product, setting the location, and applying the rule.
Defining Your Rule's Conditions
Jump into your plugin's dashboard and look for a section labeled "Rules" or "Restrictions." This is your command center. When you create a new rule, you'll be setting up a series of conditions that work like a simple "if this, then that" statement.
For our oversized item scenario, the logic breaks down like this:
- Condition 1 (The "If"): If a product in the cart has the Shipping Class "Oversized."
- Condition 2 (The "And"): And the customer's shipping address is in our primary Shipping Zone (let's say, the "United States").
- Action (The "Then"): Then hide the "Next Day Air" Shipping Method.
This specific combo is key. It ensures the rule only kicks in when an oversized item is headed to a location where "Next Day Air" is normally an option. Other products in the cart, or customers outside this zone, won't be affected at all.
Customizing the Customer Experience
Now for the final touch, which is arguably one of the most important: deciding what your customer sees. Just hiding a shipping option works, but it can leave people confused. Providing a little context is always better.
Most good restriction plugins let you add a custom message at checkout.
Pro Tip: Don't let customers guess why an option disappeared. Set up a simple message like, "Some items in your cart are too large for express shipping." This small bit of communication clears up confusion instantly and can save you from a lost sale.
Once you save the rule, the job isn't done. You have to test it. Seriously, test it. Add an oversized product to your cart, head to checkout, and confirm that "Next Day Air" is gone. Then, remove that product and add a standard one to make sure the option comes back. This quick check verifies your logic is sound and the rule is working exactly as you intended.
Advanced Strategies for Complex Shipping Logic
<iframe width="100%" style="aspect-ratio: 16 / 9;" src="https://www.youtube.com/embed/bs4cxrPENHM" frameborder="0" allow="autoplay; encrypted-media" allowfullscreen></iframe>Once you’ve got a basic rule working, the real fun begins. Now you can start layering conditions to solve those tricky logistical puzzles that every store owner runs into. True shipping control isn't just about hiding a method—it’s about building dynamic logic that adapts to what’s in the cart, where it’s headed, and even who’s buying.
This is where you graduate from simple "if/then" rules to much more powerful "if/and/then" scenarios. This approach lets you restrict shipping by product in WooCommerce with surgical precision, protecting your margins and making your fulfillment process a whole lot smoother.
Combining Multiple Conditions
The real power of a good shipping plugin is its ability to stack conditions. Instead of a single trigger, you can demand that multiple criteria are met before a rule kicks in. This is absolutely essential for handling the nuanced shipping requirements that a single condition just can't solve on its own.
Let's say you sell both shelf-stable snacks and frozen goods. A single rule won’t cut it. You need a combination:
- Rule 1: IF a product from the "Frozen" category is in the cart...
- AND the destination is a ZIP code in a rural, 3-day transit area...
- THEN hide all shipping methods except "Overnight Air."
This is a perfect example of how to make sure your perishable products arrive safely without unnecessarily restricting shipping options for everything else in your store. The same logic is crucial for products with legal restrictions, which you can read more about in our guide on navigating complex hemp shipping rules.
Rules Based on User Roles and Cart Attributes
Your shipping logic can also adapt to the customer themselves. A common advanced strategy is setting up special rules for different user roles. You could, for example, create an exclusive "Wholesale Freight" option that only appears for logged-in wholesale accounts.
You can also build rules around cart attributes like total weight or value.
A great example is offering free ground shipping on orders over $100, but only if the total cart weight is under 50 lbs. This prevents a heavy, low-margin order from completely wiping out your profit on a free shipping promotion.
This level of detail is possible because top-tier plugins let you create these tailored shipping options using criteria like SKUs, cart contents, weight, and postal codes. This kind of flexibility is vital, since personalized shipping options are proven to help reduce cart abandonment—a problem that affects nearly 70% of online shoppers. By putting these advanced strategies to work, you can turn shipping from a logistical headache into a real competitive advantage.
Common Questions and Quick Answers
Even with a solid plan, a few questions always pop up when you're dialing in your shipping rules. Here are some of the most common things we hear from store owners getting started with product-level restrictions in WooCommerce.
Can I Restrict Shipping for a Single Product Variation?
Yes, absolutely. Any decent shipping plugin will let you drill down to the variation level. This is a lifesaver for products where different sizes, weights, or materials have their own unique shipping needs.
For example, you might need to block air freight for an extra-large version of a product but keep it available for the small and medium sizes. This level of control is essential for complex inventories.
Will a Shipping Restriction Plugin Slow Down My Website?
A well-built plugin shouldn't drag your site down. Good ones are designed to run their checks only on the cart and checkout pages, so they don't add any extra load to the rest of your site.
That said, always stick with reputable plugins that have positive reviews mentioning performance. After you install any new tool, it's just good practice to run a quick speed test on your checkout process to make sure everything is still snappy.
The key is to select a lightweight, performance-optimized tool. Slow checkouts are a major cause of cart abandonment, so a fast plugin isn't a luxury—it's essential for protecting your conversion rates.
How Do I Inform Customers About a Shipping Restriction?
Clarity is everything here. The best approach is a two-part strategy. First, the plugin should automatically hide the restricted shipping method at checkout. This prevents a customer from selecting an option they can't actually use.
But for an even better experience, you should add a clear, simple note directly on the product page. A quick message like, "This item cannot be shipped to Alaska or Hawaii," tells a customer what to expect before they even click "add to cart." This kind of transparency builds trust and cuts way down on confused emails to your support team. Managing the complexities of state-by-state rules is a big deal, as we cover in our guide on how to handle firearm shipping across state lines.
What Is the Difference Between Restricting a Shipping Method and a Zone?
It's helpful to think of it in terms of scale. A shipping zone is a big geographical bucket, like a country, a state, or a group of ZIP codes. If you restrict an entire zone, no one in that area can place an order. It's a blunt instrument.
Restricting a shipping method, on the other hand, is much more surgical. You could still allow orders to California (the zone), but maybe you restrict the "Overnight Air" method for a particularly heavy or hazardous product. Customers in California could still buy it, but they'd only be able to select "Ground Shipping." It gives you much more nuanced control.
Ready to stop worrying about shipping compliance and start automating your rules? Ship Restrict provides the granular control you need to block orders by state, county, or ZIP code, saving you time and preventing costly mistakes. Explore Ship Restrict and simplify your shipping today
Automate Shipping Compliance
Stop worrying about restricted states. Ship Restrict handles it automatically.

Cody Yurk
Founder and Lead Developer of ShipRestrict, helping e-commerce businesses navigate complex shipping regulations for regulated products. Ecommerce store owner turned developer.
Automate Shipping Compliance
- Block restricted states
- No more cancellations
- Set and forget
3-day free trial · Card required