WooCommerce Shipping Restrictions Based on Product Category | Expert Guide
Master WooCommerce Shipping Restrictions Based on Product Category. Learn how to set up and manage shipping rules to optimize your store's checkout process.
Cody Y.
Updated on Sep 4, 2025
A one-size-fits-all shipping strategy is a silent profit killer. If you're applying the same shipping options to fragile glassware, heavy furniture, and standard t-shirts, you're setting yourself up for a logistical nightmare. The solution? Implementing WooCommerce shipping restrictions based on product category. This isn't just a "nice-to-have" feature; for many stores, it's a fundamental necessity for protecting margins and streamlining fulfillment.
Why Your Store Needs Smarter Shipping Rules
Imagine this scenario: a customer adds a bulky armchair to their cart, sees "Next Day Air" as an option, and clicks "buy." Now you're stuck. Do you swallow an astronomical shipping bill that completely erases your profit, or do you have that awkward conversation to cancel the order? This is a common, yet entirely preventable, problem created by generic shipping rules.
Smart shipping logic is more than a convenience—it's a core component of a healthy e-commerce operation. When your shipping rules don't match the physical reality of your product catalog, you're exposing your business to some serious risks.
The Real Cost of Ignoring Product-Specific Shipping
Without category-based restrictions, you're almost certainly losing money in one of two ways: overcharging or undercharging. You might be tacking on excessive shipping fees for small items, causing customers to abandon their carts. Or, even worse, you could be undercharging for heavy, oversized goods, taking a direct hit to your bottom line with every sale. This lack of precision not only hurts your finances but also creates a jarring user experience that can erode customer trust.
Automate Shipping Compliance
Block orders to restricted states automatically. 3-day free trial.
Start Free TrialToday's online shopper expects a checkout process that makes sense. In fact, research shows that 60% of consumers globally expect shipping options customized to the product they're buying, and a staggering 47% have abandoned carts simply because they didn't see a suitable delivery choice. More insights on this are available over at Calcurates.com.
When you fail to align shipping methods with your products, you're essentially leaving money on the table. Every transaction involving an oversized, fragile, or regulated item becomes a financial gamble.
Gaining Control and Improving Satisfaction
Setting up WooCommerce shipping restrictions based on product category puts you back in the driver's seat. You gain granular control over the entire checkout experience. You can finally ensure that heavy items are only eligible for ground shipping, perishable goods are restricted to expedited services, and digital products have no shipping options at all.
This level of control brings several immediate advantages to your store:
- Protects Your Profit Margins: You completely eliminate the risk of absorbing huge, unexpected shipping costs on bulky or specialty items.
- Reduces Cart Abandonment: Customers are no longer scared away by sticker shock from inappropriate or overpriced shipping options.
- Enhances Customer Trust: A logical, clear checkout process signals professionalism and shows you've thought through the customer experience.
For businesses weighing different e-commerce solutions, the ability to implement these kinds of advanced rules is a major point in WooCommerce's favor. For a deeper look, this detailed e-commerce platform comparison offers some valuable insights. Ultimately, smart shipping rules transform your checkout from a potential liability into a strategic asset.
Setting the Stage for Flawless Shipping Logic

Before you even think about creating rules, a little prep work goes a very long way. It's a classic mistake to jump straight into a plugin without a solid foundation—a shortcut that almost always leads to a confusing setup and frustrating errors down the road.
Think of this as organizing your toolbox before a big project. A few minutes spent getting things in order now will save you hours of troubleshooting later. This pre-flight checklist is designed to make sure your WooCommerce shipping restrictions based on product category will work seamlessly from day one.
Audit Your Product Categories
Your product categories are the heart of this entire strategy. If they're a mess, your shipping rules will be, too. For this to work, your categories need to be structured based on shipping characteristics, not just what looks good to a customer browsing your store.
For example, a generic category like "Home Decor" is way too broad. It could easily contain a tiny 2-ounce candle and a massive 75-pound floor lamp, both of which require completely different shipping options. That’s a recipe for disaster.
Instead, get logical and group them for your rules:
- Heavy Goods: For anything like furniture or bulky equipment that needs freight.
- Perishables: Think food items that require expedited, temperature-controlled shipping.
- Fragile Items: This is for your glassware or electronics that demand special handling and insurance.
- Regulated Products: Goods like firearms or alcohol that have strict, location-based shipping bans.
This kind of clear, logical organization is the bedrock you'll build your rules on. You can still maintain a clean storefront by using parent and child categories. For instance, "Home Decor" can be the parent, with child categories like "Decor (Fragile)" and "Decor (Oversized)" doing the heavy lifting for your shipping logic on the backend.
Free Shipping Compliance Audit
We'll review your WooCommerce store's shipping compliance for free.
Review Existing Shipping Zones and Methods
Next up, take a hard look at your current shipping setup in WooCommerce. Just navigate to WooCommerce > Settings > Shipping and carefully review your Shipping zones and the Shipping methods assigned to each one. A cluttered or disorganized shipping configuration is a common source of conflicts with new rules.
A common pitfall I see all the time is old, overlapping, or forgotten shipping methods left active. These can wreak havoc on new restrictions, causing shipping options to pop up when they should be hidden, or the other way around.
Clean things up. Deactivate or delete any old or redundant shipping methods you find. Make sure your zones are correctly defined for the regions you serve, whether that's by country, state, or a specific list of ZIP codes.
This review helps you spot potential conflicts early and gives a plugin like Ship Restrict a clean slate to work with. Taking these simple preparatory steps now provides the clarity you need for a truly flawless, automated shipping system.
Alright, let's get the practical stuff sorted out. With your store's product categories nice and organized, you're ready to install the tool that will enforce all your shipping logic. This part is pretty straightforward, but a few key settings during activation can make a huge difference in how your rules behave down the line.
We're going to focus on the Ship Restrict plugin because its features are built specifically for creating WooCommerce shipping restrictions based on product category. The main goal here is to get you comfortable with the interface so you can start building rules with confidence.
Finding and Activating the Right Tool
First up, head over to your WordPress dashboard. From the menu on the left, navigate to Plugins > Add New. Find the search bar—it's usually on the top right—and type in "Ship Restrict." The plugin should pop right up as the first result.
This is what you'll be looking for in the WordPress repository.

Click Install Now, wait a moment, and then click Activate. Once it's active, you’ll spot a new "Ship Restrict" menu item in your WordPress dashboard. That's where all the magic happens.
Initial Configuration Settings to Check
Before you jump into building your first rule, it’s a smart move to review the plugin's global settings. So many people skip this step, but these settings control how the plugin behaves across your entire store.
Look for a settings or configuration tab inside the Ship Restrict menu. There are a few key options you'll want to dial in right away:
- Rule Conflict Resolution: What happens if two of your rules clash? Say one rule hides a shipping method while another one allows it. Most plugins, including this one, default to applying the most restrictive rule, which is almost always the safest bet. It helps prevent a shipping option from showing up when it absolutely shouldn't.
- "No Shipping Options" Message: This is a huge piece of the customer experience puzzle. Instead of showing the generic WooCommerce message, a good plugin lets you write a custom notice. Something like, "Some items in your cart have shipping restrictions. Please contact us if you need assistance." is way more helpful and less alarming.
- Rule Evaluation Scope: Check whether the plugin evaluates rules based on the entire cart or on individual items. This really matters when customers have mixed carts with both restricted and unrestricted products.
Take a minute to really think through these settings. A well-crafted "no shipping options" message can be the difference between a confused customer abandoning their cart and one who understands why a certain delivery method isn't available.
Getting these initial configurations right from the start ensures a consistent, logical experience for you and your customers. It's always interesting to see how other integrations, like Blockbee's WooCommerce Plugin with checkout integration, handle their user-facing settings—it often provides good ideas for your own store.
For merchants selling regulated goods, getting these rules automated is non-negotiable for staying compliant. If that's you, it's worth learning more about setting up automated shipping compliance for Woo-commerce stores to better protect your business.
With the plugin installed and configured, you're now in the perfect spot to start building your first targeted restriction.
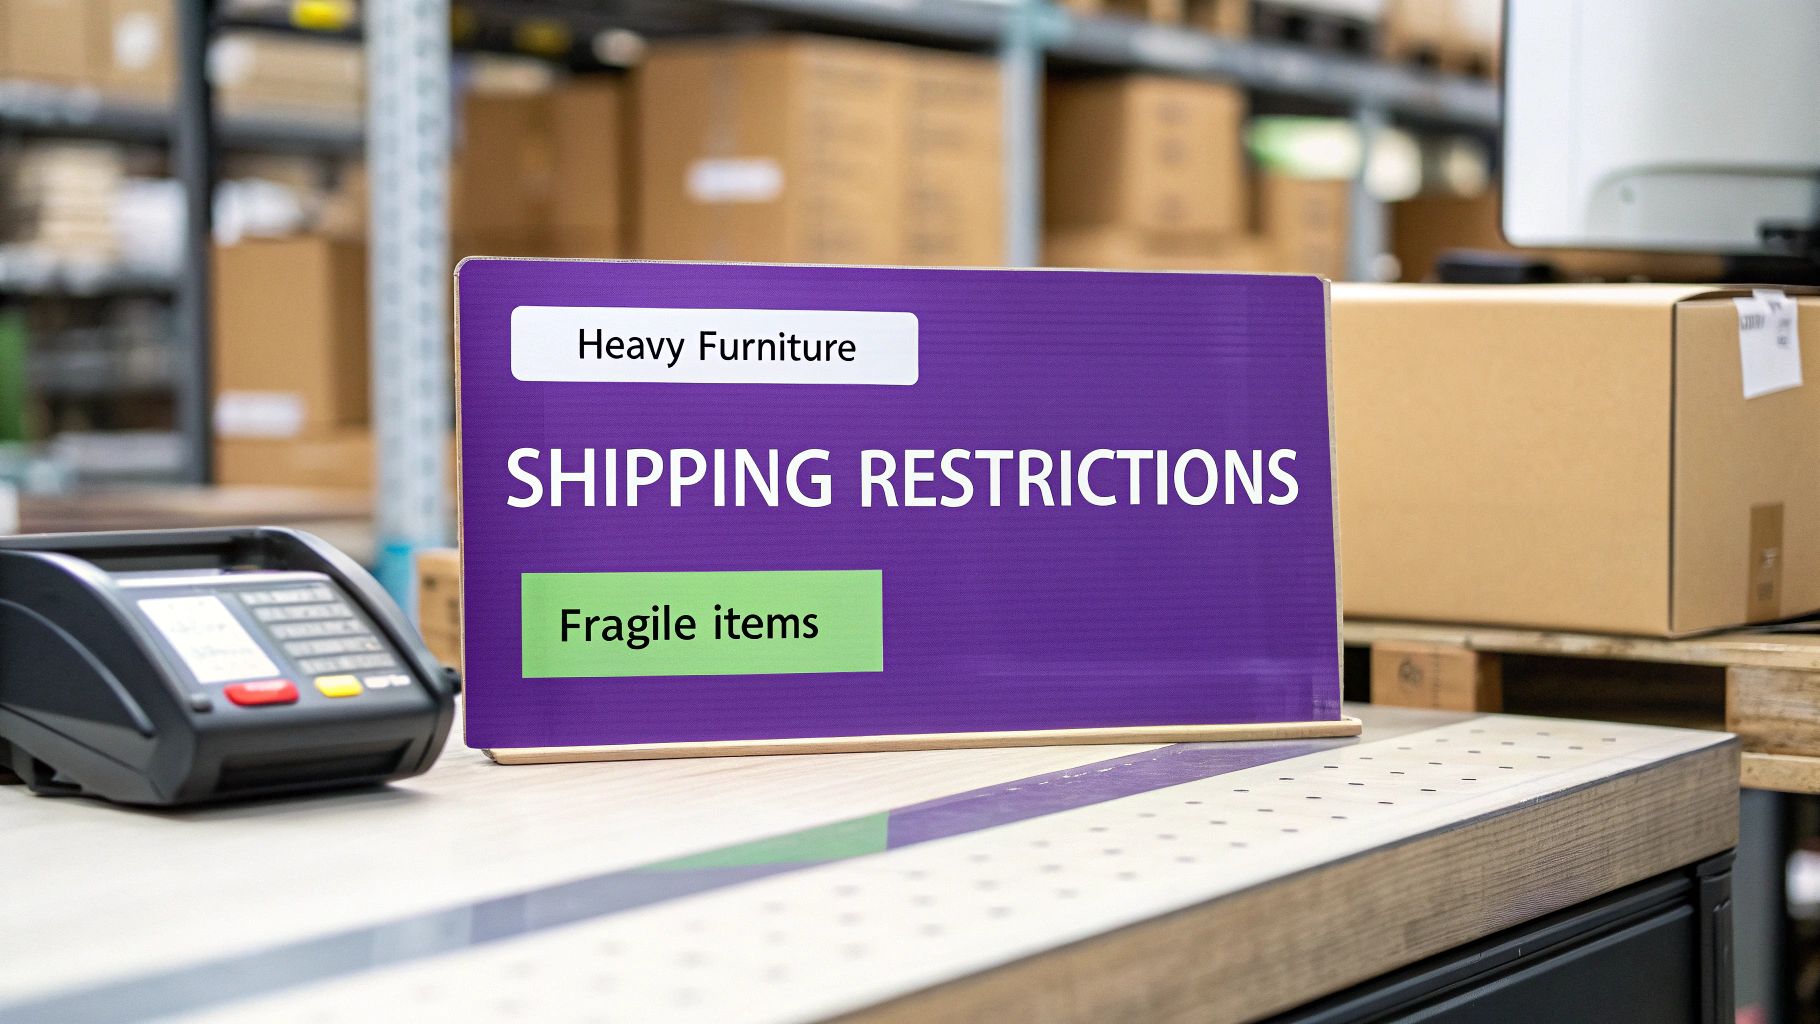
Alright, let's stop talking theory and get our hands dirty. The best way to understand how this works is to build a practical, money-saving rule right now. We're going to walk through creating one of the most common and useful restrictions I see store owners set up: WooCommerce shipping restrictions based on product category.
Our mission is straightforward. We need to stop customers from choosing "Next Day Air" if they have any items from our "Heavy Furniture" category in their cart. This single rule is a classic example of protecting your profit margins from ridiculously expensive shipping errors. We’ll name the rule, tell it which shipping method to target, and then set the condition that springs it into action.
Defining the Rule and Its Target
First things first, head over to the Ship Restrict > All Rules area in your WordPress dashboard and hit "Add New." You'll see a field for the rule name. This is just for you, so make it something you'll recognize instantly. I'd go with something like "Block Next Day Air for Heavy Furniture"—no confusion there.
With the name set, we get to the core of the rule: what are we actually restricting? The plugin lets you target shipping methods, entire shipping zones, or even payment gateways. For this job, we'll choose "Shipping Methods." As soon as you select it, a new field pops up. Start typing "Next Day Air," and pick it from the list that appears.
This is the essential flow we're following—connecting your product categories to specific shipping rules to control what happens at checkout.
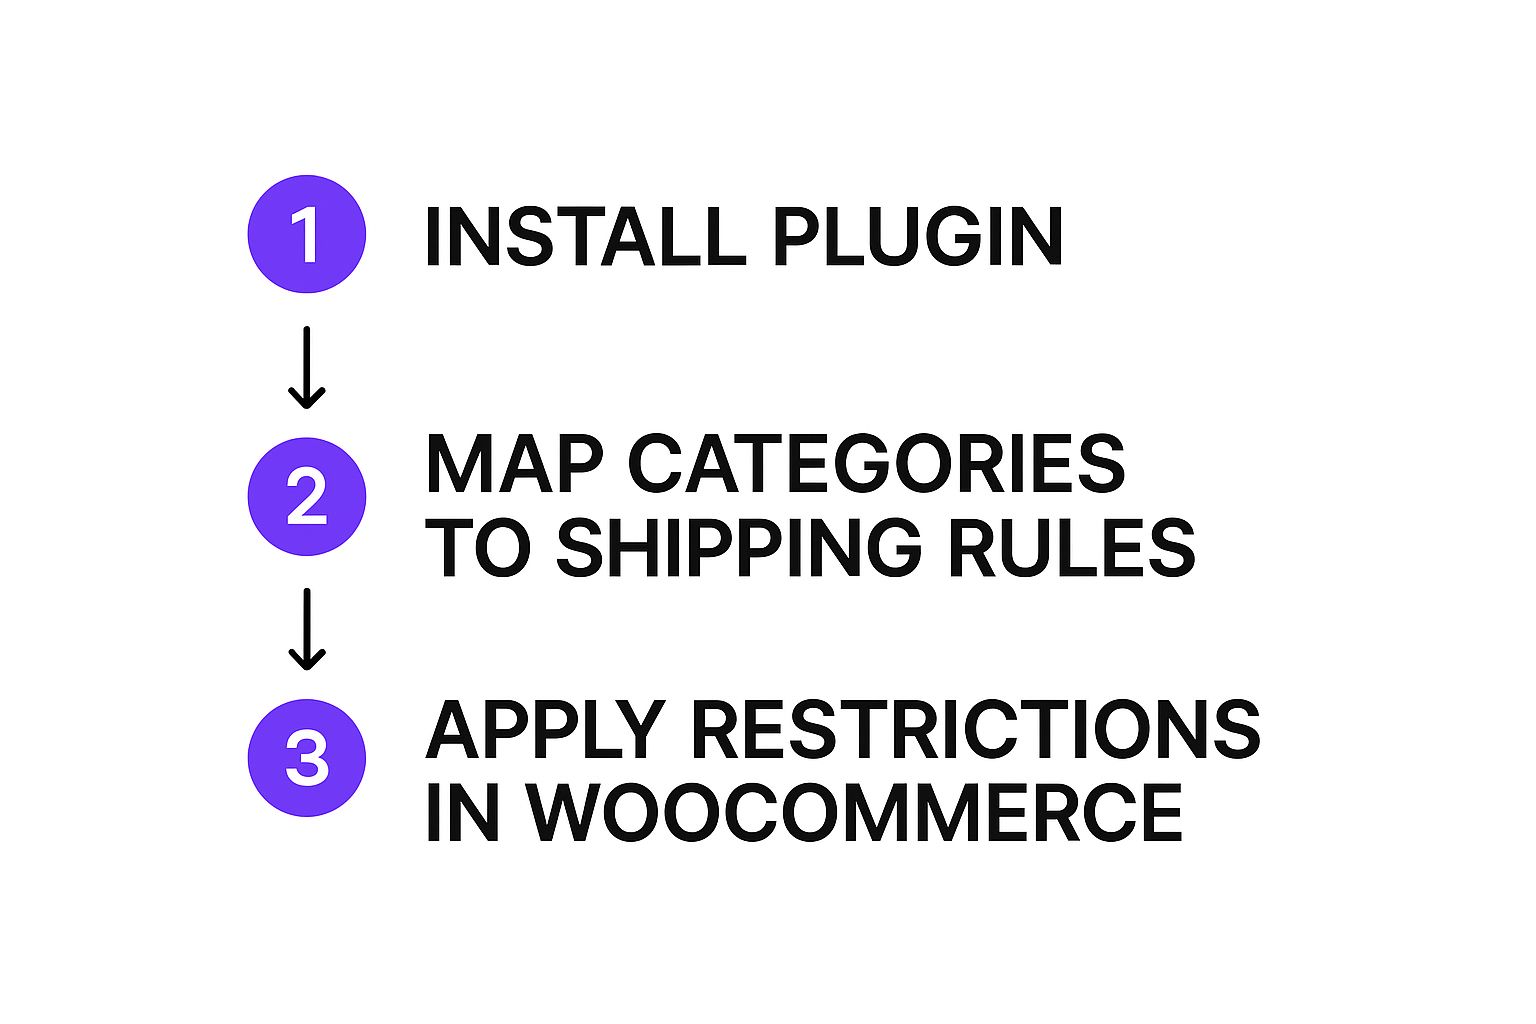
As you can see, it's all about mapping a condition (the product category) to an action (hiding a shipping option).
Setting the Trigger Condition
We've defined the "what," so now it's time for the "when." This is handled by the conditions section, which is where you build the logic that tells the plugin when to step in.
Go ahead and click "Add Condition Group," followed by "Add Condition." You’ll see a set of dropdowns that let you construct a simple logical statement. Here's how to set it up:
- In the first dropdown, choose Product Category. This tells the rule to pay attention to the categories of the items in the cart.
- The second dropdown needs to be set to In Cart. This makes the rule fire if any item from our target category is present.
- For the last field, just start typing "Heavy Furniture" and select your category from the list.
The result is a condition that reads like a plain English sentence: "If a product from the 'Heavy Furniture' category is in the cart." Simple. When that statement is true, the plugin will do what we told it to do earlier: hide the "Next Day Air" shipping option.
Pro Tip: Read your condition out loud before you save. It's surprisingly easy to pick "Not In Cart" by mistake, which would do the exact opposite of what you want. A quick sanity check prevents these kinds of headaches.
All that's left is to hit the "Publish" button to make your rule live. And that's it. From now on, any time a shopper adds a product from the "Heavy Furniture" category to their cart, the "Next Day Air" option will simply disappear at checkout. You’ve just automated away a potential shipping nightmare.
To help you brainstorm other ways you can use this, here are a few common scenarios I've seen merchants implement.
Common Shipping Restriction Scenarios by Product Category
This table breaks down some practical examples of how you can apply rules to different product categories to solve real-world shipping problems.
| Product Category | Problem | Example Rule to Implement |
|---|---|---|
| Perishable Goods | Products like baked goods or frozen items can't survive slow shipping. | Hide all "Standard Ground" and "Economy Shipping" options if a product from the "Perishables" category is in the cart. |
| Hazardous Materials | Items like batteries or chemicals are prohibited from being shipped via air freight by many carriers. | Restrict "Next Day Air" and "2-Day Air" shipping methods for any products in the "Hazmat" category. |
| Digital Products | Customers shouldn't see shipping options at all if their cart only contains downloadable items. | Hide the entire "United States" shipping zone if the cart only contains products from the "Digital Downloads" category. |
| Oversized Items | Large items like kayaks or industrial equipment can only be shipped via freight and are excluded from standard carrier services. | Restrict all standard shipping methods (UPS, FedEx, USPS) and only show a "Freight LTL" option for the "Oversized" category. |
| Promotional Freebies | You offer a free t-shirt with a purchase, but you don't want to offer expedited shipping on just the free item. | Hide "Overnight Shipping" if the cart only contains an item from the "Free Promotional Items" category. |
These are just starting points, of course. The real power comes from combining these category-based rules with other conditions like cart total, customer location, or even user role to create a perfectly tailored checkout experience.
Advanced Rules for Complex Shipping Scenarios
Once you get a basic rule under your belt, you can start unlocking the real power of conditional shipping. Your store’s logistics aren’t always simple, and your rules shouldn’t have to be, either. This is where you move beyond a single condition to build sophisticated, multi-layered rules for those unique shipping headaches.
By combining multiple conditions, you can achieve a level of precision that solves some seriously specific shipping problems. Let's dig into how to use 'AND' and 'OR' logic to fine-tune your checkout and make it work exactly how you need it to.
Combining Conditions with AND Logic
Sometimes, a shipping rule should only kick in when multiple things are true at the same time. This is a perfect job for 'AND' logic. It makes sure a restriction only triggers if every single condition you set is met.
Imagine you sell expensive electronics. You're happy to ship them internationally, but only if the order value is high enough to justify the extra insurance and customs paperwork. A simple category-based rule just won't cut it here.
You need a rule that checks for two things at once:
- Condition 1: Is there a product from the 'Electronics' category in the cart?
- Condition 2: Is the cart subtotal less than $100?
By linking these with 'AND' logic, you create a powerful combination. The rule will only hide your 'International Shipping' method if both the category and the low cart value are present. An international customer buying a $200 tablet will still see the option, which is exactly what you want.
Using OR Logic for Broader Rules
What if you want a rule to apply if any one of several conditions is true? That’s where 'OR' logic comes in. This approach is fantastic for grouping multiple product categories that all share the same shipping restrictions.
Let's say you have three separate categories that are a pain to ship: 'Heavy Furniture,' 'Large Appliances,' and 'Oversized Decor.' Creating three separate rules to block 'Next Day Air' for each is repetitive and just plain inefficient.
Instead, you can build a single, streamlined rule:
- Add your first condition: Product Category is In Cart for Heavy Furniture.
- Click "Add Condition" and set the operator between them to OR.
- Add your second condition: Product Category is In Cart for Large Appliances.
- Keep going, adding another OR condition for the 'Oversized Decor' category.
Now, if a product from any of those three categories hits the cart, 'Next Day Air' is hidden. This keeps your rule list clean and makes it so much easier to manage down the road.
Creating Exclusions and Inverted Rules
Advanced WooCommerce shipping restrictions based on product category also let you handle exclusions. Let's be honest, sometimes it's easier to apply a rule to everything except a specific category.
For example, you might want to offer a promotional "Flat Rate Shipping" on your entire store, but you absolutely need to exclude it for bulky, low-margin products in your 'Clearance' category. Instead of making rules for every single other category, you just flip the logic with one inverted rule:
- Restrict the "Flat Rate Shipping" method if the Product Category is In Cart for Clearance.
This "deny" approach is often far more efficient than an "allow" approach. This level of control is also critical for industries with strict regulations. You can see how this plays out by reading our guide on handling WooCommerce alcohol shipping restrictions, where location-based rules are non-negotiable. By mastering these advanced combinations, you can automate just about any shipping scenario your business throws at you.
Troubleshooting Common Shipping Rule Issues

Even with the most logical setup, you’re bound to run into a few head-scratching moments. It happens to everyone. Maybe a shipping rule isn't firing when you expect it to, or a customer's mixed cart creates a weird, unforeseen outcome.
Let's walk through some of the most common hiccups and how to get them sorted out fast. Often, the problem isn't the rule itself but a tiny oversight in the configuration. A quick double-check of your conditions or even the spelling of a shipping method can be all it takes.
Conflicting Rules in a Customer Cart
This is a big one. What happens when a cart contains two products with competing rules? Imagine one item is set up to hide "Overnight Shipping," but another item in the same cart is supposed to allow it. It's a frequent point of confusion when you're managing WooCommerce shipping restrictions based on product category.
In almost every scenario, the most restrictive rule wins. If even a single product in the cart triggers a restriction, that restriction gets applied to the entire order. So, in our example, the "Overnight Shipping" option will be hidden for the whole cart. This is a failsafe to ensure you don't accidentally ship a heavy, restricted item for a massive loss.
Plugin Performance and Site Speed
It's a valid concern: will adding another plugin slow down my website? A well-coded tool like Ship Restrict is engineered to be lightweight and should have a negligible impact on your site’s performance.
These rules are only executed on the cart and checkout pages—the specific places where shipping rates get calculated. They aren't running across your entire site. Still, it's smart to keep these points in mind:
- Keep it Streamlined: An excessive number of highly complex, layered rules could add a slight delay. Focus on efficiency.
- Regular Audits: Every few months, take a look at your rules. Get rid of any that are old or no longer in use to keep things running smoothly.
Customizing Customer Messages
When a shipping option just vanishes without any explanation, customers get confused and often abandon their carts. A generic "no shipping options available" message is better than nothing, but it’s far from ideal.
This is where a premium plugin really shines. The ability to display a custom notice is a game-changer for the customer experience. Instead of hitting a dead end, you can provide a clear, helpful explanation like, "Next Day Air is unavailable for oversized items in your cart." This instantly manages expectations, cuts down on support tickets, and turns a potential frustration into a professional interaction.
For more in-depth solutions, our comprehensive troubleshooting documentation offers step-by-step guidance for a variety of specific scenarios you might encounter.
Ready to take full control of your shipping logic and protect your profits? Ship Restrict provides the powerful, user-friendly tools you need to create any rule you can imagine.
Automate Shipping Compliance
Stop worrying about restricted states. Ship Restrict handles it automatically.

Cody Yurk
Founder and Lead Developer of ShipRestrict, helping e-commerce businesses navigate complex shipping regulations for regulated products. Ecommerce store owner turned developer.
Automate Shipping Compliance
- Block restricted states
- No more cancellations
- Set and forget
3-day free trial · Card required