How to Add a Plugin WordPress Your Complete Guide
Learn how to add a plugin WordPress with our complete guide. We cover the directory, manual uploads, and choosing the right plugins for your site.
Cody Y.
Updated on Sep 14, 2025
Adding a plugin to your WordPress site is surprisingly simple. You just head to your dashboard, find 'Plugins' > 'Add New', search for what you need, and hit 'Install Now' and then 'Activate'. That's it. This straightforward process is how you unlock almost any feature you can imagine for your website.
Why Plugins Are Your Website's Superpower
A fresh WordPress installation is like a blank canvas. It has all the basic tools you need to get something on the page, but plugins are the specialized brushes, paints, and textures that turn your blank slate into a masterpiece. They're small apps that "plug in" to your site, adding new features or beefing up existing ones without you ever having to touch a line of code.
This extensibility is the secret sauce behind WordPress's dominance. It powers over 43% of the entire internet, a staggering figure that speaks to its flexibility—a flexibility driven almost entirely by its massive plugin ecosystem. This incredible adoption rate means there's a community-tested plugin for almost any problem you're trying to solve. You can discover more insights about WordPress market share and see just how deep this ecosystem runs.
Real-World Plugin Examples
Knowing how to add a plugin is less about the technical steps and more about creative problem-solving. Here’s what this looks like in the real world:
Automate Shipping Compliance
Block orders to restricted states automatically. 3-day free trial.
Start Free Trial- Want to sell products? A plugin like WooCommerce can turn your simple blog into a full-blown e-commerce store, complete with product pages, a shopping cart, and secure payment processing.
- Need to connect with visitors? Installing a contact form plugin, such as WPForms, gives your audience a direct line to you for questions, quotes, or feedback.
- Trying to rank on Google? An SEO plugin like Yoast SEO acts as your personal optimization coach, giving you real-time feedback and tools to help your content climb the search rankings.
The true power of plugins is their ability to bridge the gap between what WordPress does out of the box and what you actually need your website to do to hit your goals.
Adding Plugins From the Official WordPress Directory
The easiest and safest way to add new features to your site is by installing plugins directly from your WordPress dashboard. Think of it as an app store built right into your website, connecting you to the official WordPress plugin directory—a curated, trusted marketplace for thousands of free tools.
This isn't some small collection, either. As of 2025, the official directory contains over 59,000 free plugins. This massive ecosystem makes it incredibly simple to add new functionality without ever touching a line of code.
Finding and Installing Your First Plugin
Let's walk through a real-world example: installing the popular Yoast SEO plugin.
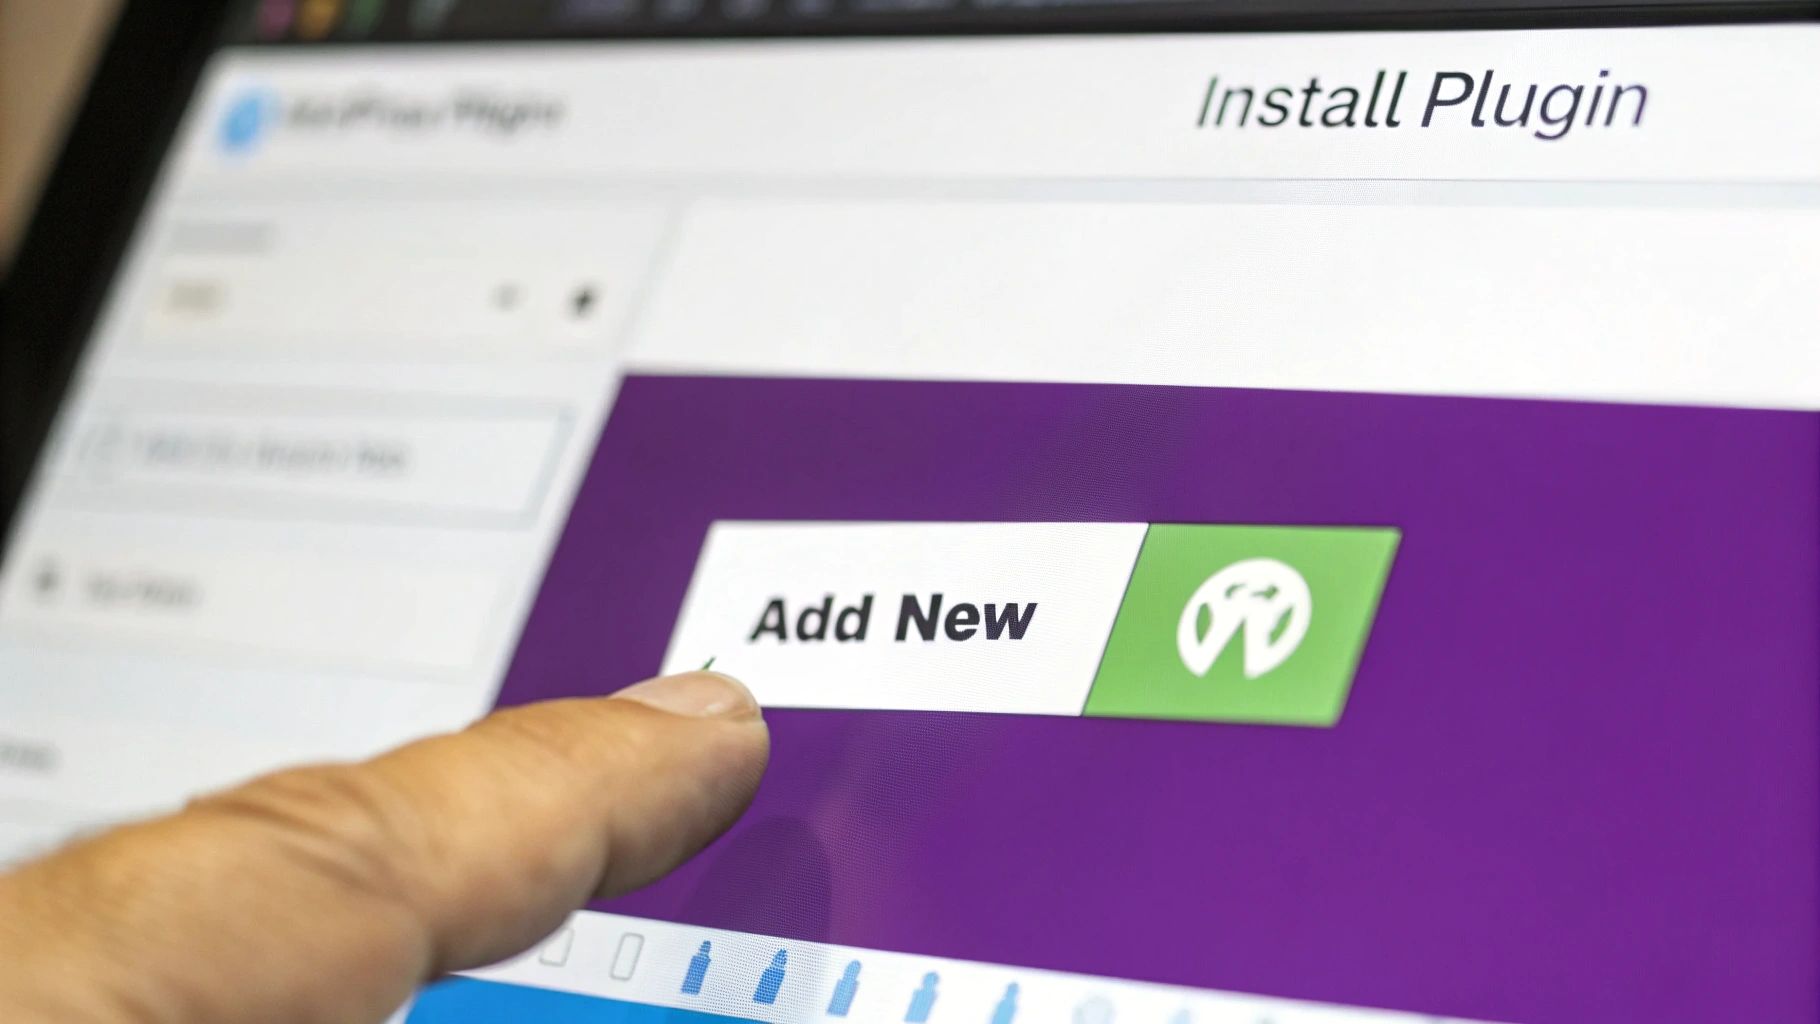
First, head over to your WordPress admin dashboard. In the left-hand menu, find Plugins and then click on Add New. This will take you to the main plugin search page.
Look for the search bar in the top right corner and type in "Yoast SEO." WordPress will instantly start searching the directory and show you the results. Before you click anything, it's a good habit to quickly evaluate the plugin you're about to install.

The search results card gives you some vital clues about a plugin's quality.
You can see its star rating, how many other websites are actively using it, and—most importantly—when it was last updated. These are all critical signs of a healthy, well-maintained plugin. Once you’ve confirmed you've got the right one, go ahead and click the ‘Install Now’ button.
Activating the Plugin to Make It Live
WordPress will take a few moments to download and unpack the plugin's files. Once it's done, the button will change from "Install Now" to a blue ‘Activate’ button.
Free Shipping Compliance Audit
We'll review your WooCommerce store's shipping compliance for free.
This is a crucial final step. Just installing a plugin adds its files to your site, but it doesn't actually do anything yet. You have to activate it to turn it on and make its features and settings available in your dashboard. For a deeper dive into this process, check out our guide on how to install plugins to WordPress.
Key Takeaway: Installing a plugin simply adds its code to your website. You must always click 'Activate' to make the plugin's features and settings live and accessible from your dashboard.
How to Manually Upload a Plugin ZIP File
The official directory is fantastic for free plugins, but what about the premium tools you buy from places like ThemeForest or directly from a developer’s website? For those, you won't use the search bar. Instead, you'll upload them directly.
This is the standard method for installing any plugin you purchase, and it’s just as straightforward as finding one in the repository. WordPress is built on standardized workflows like this, which is a big reason millions of people can use it so easily. You can read more about common WordPress practices to get a better sense of how it all works together.
Getting It Done: The Upload Process
When you buy a premium plugin, the developer will give you a .zip file to download. Go ahead and save that file somewhere easy to find, like your desktop.
Here's the key: don't unzip it. WordPress is designed to handle the .zip file as is.
Once you have the file ready, here’s what you do:
- Head back to Plugins > Add New in your WordPress dashboard.
- Instead of using the search box, look at the top of the page and click the ‘Upload Plugin’ button.
- A new section will slide open with a ‘Choose File’ button. Click that, find your plugin’s .zip file, and select it.
- Finally, hit ‘Install Now’.
From there, WordPress takes over. It unpacks the file and puts everything exactly where it needs to go on your server.
A very common mistake is trying to upload the entire package you get from a marketplace. Often, that download includes documentation, license keys, and other files. If you get an error, double-check that you’re uploading only the installable plugin .zip file.
Don't Forget to Activate
Just like any other plugin, installing it is only half the battle. After the installation finishes, WordPress will take you to a confirmation screen.
All you have to do is click the blue ‘Activate Plugin’ button, and you’re all set. The plugin’s features are now live on your site.
That’s it! You now know how to add any plugin to WordPress using the manual upload method, unlocking a whole world of powerful, premium tools for your site.
Choosing the Right Plugins for Your Site
<iframe width="100%" style="aspect-ratio: 16 / 9;" src="https://www.youtube.com/embed/YRpeN03RCOI" frameborder="0" allow="autoplay; encrypted-media" allowfullscreen></iframe>Knowing how to install a WordPress plugin is the easy part. The real art is picking the right ones from the tens of thousands available. A poorly-coded, bloated, or abandoned plugin can cause more headaches than it solves, bogging down your site or—even worse—punching security holes in your digital storefront.
Before you ever hit that "Install Now" button, you need to do some quick detective work. Think of it as a background check for a new employee. A few minutes of due diligence upfront can save you countless hours of troubleshooting down the road.
Your Pre-Installation Checklist
Every plugin in the WordPress directory tells a story if you know where to look. Head to the plugin’s page and check these vital signs first.
- Last Updated: Look for plugins updated within the last few months. A recent update shows the developer is still active, squashing bugs, and patching security issues. Anything that hasn’t been touched in over a year is a red flag.
- Active Installations: This is your social proof. A high number of active installations suggests the plugin is trusted by the community and is likely stable and reliable.
- Reviews and Ratings: Don't just look at the five-star ratings. Dive into the one-star reviews—that's where you'll find recurring problems and potential deal-breakers.
For anyone building an online store, it's also smart to understand how a plugin fits into the bigger picture. It’s worth reading up on integrating e-commerce solutions like WooCommerce to see how specialized plugins can make or break your setup. A basic e-commerce site, for instance, often needs extra tools to handle specific business rules.
The goal is to find plugins that are not only functional but also well-maintained and widely trusted. An abandoned plugin is a security risk waiting to happen.
Beyond the Basics
To be extra thorough, skim through the plugin’s support forum. A long list of unresolved issues is another warning sign. Also, double-check that the plugin is tested and compatible with your current version of WordPress.
If your store has very specific needs, like managing complex shipping regulations, you'll need a specialized tool designed for that exact purpose. For example, a targeted WooCommerce plugin can automate those rules right at checkout, which saves a ton of time and prevents costly shipping mistakes. This is where finding the perfect plugin really pays off.
Before we move on, here's a handy table to guide your evaluation process. Use this checklist every time you consider adding something new to your site.
Plugin Quality Checklist
| Checklist Item | What to Look For | Why It Matters |
|---|---|---|
| Last Update | Updated within the last 6 months. | Ensures compatibility and that security vulnerabilities are being patched. |
| Active Installations | 10,000+ for general plugins; can be lower for niche tools. | A high number signals widespread trust and reliability in the community. |
| WordPress Version | Compatible with your current WordPress version. | Avoids conflicts and critical errors that can break your site. |
| Star Rating | A rating of 4.5 stars or higher. | Indicates general user satisfaction and a quality product. |
| Reviews | Read both 5-star and 1-star reviews. | Reveals the plugin's best features and its most common bugs or shortcomings. |
| Support Forum Activity | Check if developer responds to support tickets. | Shows the developer is engaged and helpful if you run into trouble. |
| Documentation | Clear setup guides, FAQs, and tutorials are available. | Good documentation saves you time and frustration during setup and configuration. |
Running through this list takes just a few minutes, but it can prevent major issues. A healthy, well-supported plugin is an asset; a neglected one is a liability.
Troubleshooting Common Plugin Installation Issues

Even with a perfect process, sometimes a plugin installation just... fails. A sudden error can bring everything to a screeching halt. Don't sweat it—most of these problems are incredibly common and usually have a straightforward fix. Think of this as your quick-fix guide for the most frequent installation headaches.
One classic error is the "Destination folder already exists" message. This almost always means a previous installation attempt failed but left an empty folder behind. The fix is simple: you'll need to log into your hosting account's file manager or use an FTP client. From there, navigate to /wp-content/plugins/ and just delete the leftover folder before you try again.
Tackling Server-Side Limits
Another roadblock you might hit is a PHP memory limit error. Your web host gives your site a set amount of server memory to run everything. If you're trying to install a particularly beefy plugin, it can push past that limit and cause the process to time out.
To get around this, you’ll likely need to increase your website's PHP memory limit. Some hosting dashboards have a simple toggle for this, but in many cases, you might have to shoot a quick message to your provider's support team for a hand.
Pro Tip: Plugin conflicts are the number one cause of weird website behavior after an install. If your site starts acting up, the fastest way to find the culprit is to deactivate all your other plugins. Then, reactivate them one by one until the problem comes back.
If issues keep popping up after you install a new plugin, it might be a sign of a deeper problem. Running a full health check on your site can be a lifesaver. Following a good technical SEO audit checklist is a great way to spot and fix any underlying issues that could be causing trouble.
For more targeted advice, especially if you're wrestling with a complex plugin, the developer's own documentation is your best friend. For instance, you can find a detailed set of troubleshooting steps that cover more advanced solutions to common plugin errors.
Common Questions About WordPress Plugins
Even once you get the hang of adding plugins to your WordPress site, a few questions always seem to pop up. Let's walk through some of the most common ones I hear from clients and students—clearing these up will give you a ton of confidence when managing your site.
One of the biggest anxieties I see revolves around performance. There's a persistent myth that a high number of plugins will automatically grind your site to a halt, but the reality is a bit more nuanced than that.
How Many Plugins Are Too Many?
Honestly, there’s no magic number. Quality is far more important than quantity. I’ve seen websites running 30 well-coded, lightweight plugins that load lightning-fast, and I’ve troubleshooted sites with just five bloated, poorly-built ones that were painfully slow.
The best rule of thumb is to only install what you truly need. Don't fall into the trap of adding plugins "just in case" you might use them someday. Make a habit of auditing your plugin list every few months and get rid of anything you're no longer using. A lean site is an efficient site.
Installing vs. Activating a Plugin
This is a simple but important distinction. When you install a plugin, you’re just downloading its files and placing them on your website's server. At this stage, it’s completely dormant and has zero effect on your site's functionality or performance.
Activating is the step that "flips the switch." This is when WordPress actually runs the plugin's code, making its features and settings available in your dashboard. You can keep dozens of plugins installed but only activate the specific ones you need at any given moment, though it's better to just delete what you don't use.
My favorite analogy: Installing a plugin is like putting a new power tool in your toolbox. Activating it is like plugging that tool into the wall and turning it on. You can't use it until you give it power.
Is It Safe to Use Third-Party Plugins?
Stepping outside the official WordPress.org plugin directory can be perfectly safe, but it demands a bit more diligence. Only download plugins directly from reputable developers and well-known marketplaces that have a track record for quality code and solid customer support.
Whatever you do, never download premium plugins from unofficial or "nulled" websites offering them for free. These are almost always loaded with malware that can hijack your website, steal customer data, or get your domain completely blacklisted by Google. Always stick to trusted sources—it's just not worth the risk.
Automate Shipping Compliance
Stop worrying about restricted states. Ship Restrict handles it automatically.

Cody Yurk
Founder and Lead Developer of ShipRestrict, helping e-commerce businesses navigate complex shipping regulations for regulated products. Ecommerce store owner turned developer.
Automate Shipping Compliance
- Block restricted states
- No more cancellations
- Set and forget
3-day free trial · Card required