How to Install Plugins to WordPress: Easy Steps for Beginners
Learn how to install plugins to WordPress effortlessly using dashboard, FTP, or WP-CLI. Follow our simple guide to enhance your site today!
Cody Y.
Updated on Sep 13, 2025
Installing a WordPress plugin is one of those fundamental skills that really unlocks the platform's power. The most common way is right from your dashboard: head to Plugins > Add New, search for what you need, and click Install Now, then Activate. It's a simple process that lets you add everything from contact forms to full-blown e-commerce stores in just a few minutes.
Why Mastering Plugin Installation Is Essential
Let's be real—plugins are what turn a basic WordPress blog into a powerful, custom-built machine. This is how you add the features that actually drive your business. Think about installing WooCommerce to launch an online store, using Elementor to design pages without touching a line of code, or adding Yoast SEO to start climbing the search rankings.
Knowing the different ways to get a plugin onto your site is a non-negotiable skill for any site owner. Sure, the dashboard method works great most of the time. But knowing how to handle a manual FTP upload can be a total lifesaver when a dashboard install fails or a security plugin accidentally locks you out. And for developers or anyone managing multiple sites, the command-line interface (WP-CLI) is an incredibly efficient way to get things done.
Knowing how to install plugins through various methods gives you the flexibility to solve problems, install premium tools, and maintain your site with confidence, no matter what the situation calls for.
This flexibility is a huge reason WordPress has become so dominant, now powering around 43.7% of all websites on the internet. That incredible market share is built on its massive ecosystem, with over 59,000 free plugins in the official directory alone, giving you endless ways to extend your site's functionality.
Automate Shipping Compliance
Block orders to restricted states automatically. 3-day free trial.
Start Free TrialWhat We Will Cover in This Guide
To make sure you're ready for any scenario, this guide will walk you through the three core methods for installing a plugin:
- The Dashboard Method: This is the go-to approach. It's the simplest way to find and install free plugins from the WordPress repository or upload a premium plugin's .zip file.
- The FTP Method: A manual technique for those times when the dashboard isn't an option. It involves using an FTP client like FileZilla to upload plugin files directly to your server.
- The WP-CLI Method: The advanced, command-line option that developers and power users love for its speed and automation capabilities.
For an even deeper look at the basics, check out this comprehensive guide on how to install a plugin in WordPress. Once you've got a new plugin installed, the next logical step is getting it configured, which you can see in action in our getting started guide for Ship Restrict.
The Easiest Method: Installing from the WordPress Dashboard
For most folks, the WordPress dashboard is mission control. It’s where you run your site, and installing plugins is no different. This built-in feature is, by far, the simplest and most direct way to add new functionality.
Honestly, this is the method you’ll probably use 99% of the time.
The dashboard handles all the messy stuff behind the scenes, from downloading the right files to putting them in the correct server directory. Learning your way around this process is a fundamental WordPress skill, covering the two main scenarios you’ll run into constantly: grabbing free plugins from the official directory and uploading premium plugins you’ve paid for.
Finding and Installing Free Plugins
The official WordPress.org plugin directory is a massive, searchable library with tens of thousands of free tools, and your dashboard is plugged right into it. This direct connection makes finding and installing what you need incredibly smooth.
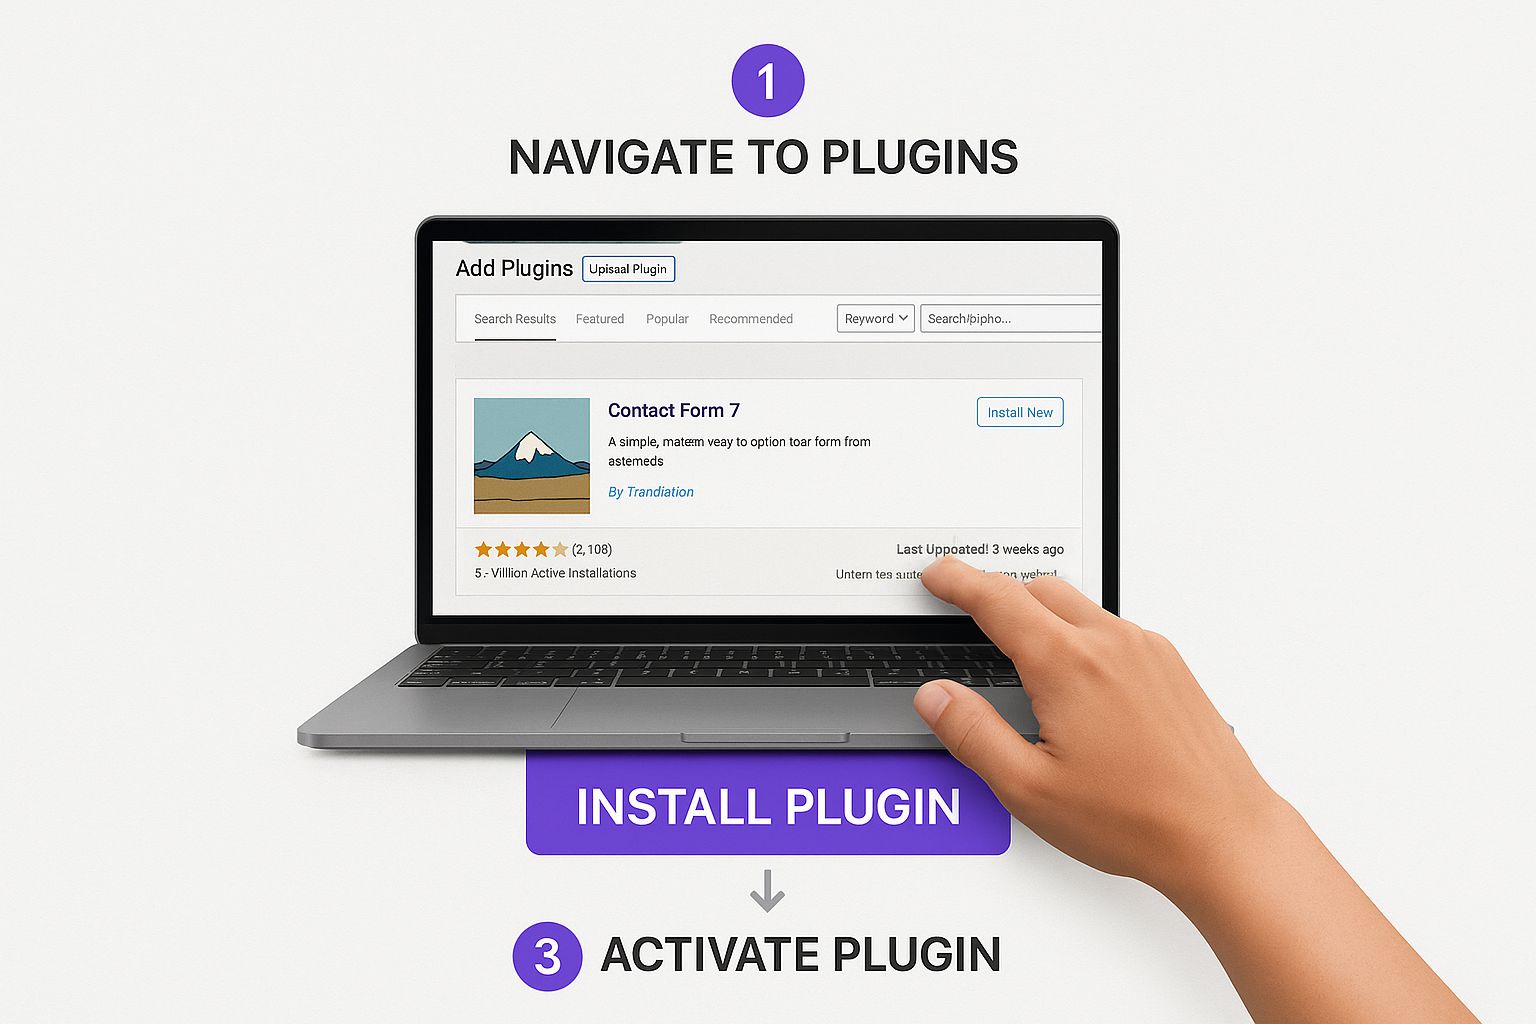
Just head over to Plugins > Add New in your left-hand sidebar. This page is basically an app store for your website. You can browse what’s popular and recommended or just use the search bar on the top right to find something specific.
Let's say you need a contact form. Typing "contact form" into the search box will pull up a ton of options, like the ever-popular WPForms or Contact Form 7.
Free Shipping Compliance Audit
We'll review your WooCommerce store's shipping compliance for free.
You’ll see a search results page that gives you a quick overview of each option.
From here, you can see vital stats like user ratings, the number of active installations, and—importantly—when it was last updated. Once you find one that looks right, just click Install Now. WordPress does its thing, and a few seconds later, that button will flip to Activate. Click it, and the plugin is live.
Pro Tip: A plugin is installed but useless until you click ‘Activate’. Think of installing as putting a new tool in your toolbox, while activating is taking it out to actually use it.
Uploading a Premium or Third-Party Plugin
What about plugins you buy from a developer, like our own Ship Restrict for WooCommerce? These premium plugins aren't in the free directory. Instead, you download a .zip file after your purchase. Thankfully, the installation process is just as straightforward.
Go back to that same Plugins > Add New page. This time, look for the Upload Plugin button at the top of the screen and give it a click. A simple file uploader will appear.
Now, just hit Choose File, find the .zip file on your computer, and click Install Now. WordPress will handle the rest, unpacking and installing the plugin for you. And just like before, the final step is to click Activate Plugin to get it running.
This entire dashboard-based process is designed to be quick and painless. In fact, you can usually go from finding a plugin to having it active on your site in less than five minutes. This ease of use is a huge reason for its dominance over other platforms, a trend highlighted in a recent analysis of WordPress statistics.
How to Manually Install a Plugin with FTP
Sometimes, the one-click install from the WordPress dashboard just isn’t an option. You might be staring at the infamous "white screen of death" after a bad plugin update, or maybe your web host has security settings that block direct uploads. In those moments, knowing how to install a plugin manually with FTP is an absolute lifesaver.
This method lets you bypass the WordPress admin area entirely and place plugin files directly onto your server. Think of it as having a backdoor key for when the front door is locked. It might sound a bit technical, but it's a surprisingly straightforward process once you do it once or twice.
Understanding FTP and Your Credentials
FTP stands for File Transfer Protocol. It’s just a standard way to move files between your computer and your website’s server. To do this, you'll need a program called an FTP client.
There are plenty of great options out there, but most people land on one of these:
- FileZilla: A free, open-source workhorse that's a favorite for both beginners and pros.
- Cyberduck: Another fantastic free client for both Mac and Windows users, known for its clean interface.
- Transmit: A premium, Mac-only client famous for its speed and features.
Before you can connect, you'll need your FTP login details. Your web host provides these when you first sign up for your hosting account. If you can't find that original email, you can almost always find the credentials inside your hosting control panel (like cPanel or Plesk). If you're still stuck, a quick message to your host's support team will sort it out. You’ll need four pieces of information: Host, Username, Password, and Port.
This visual shows the simplicity of installing a plugin through the WordPress dashboard, a process the FTP method replaces when things go wrong.
While that "Install Now" button is always the easiest route, FTP provides a crucial manual alternative for troubleshooting and direct file management when you need it most.
The Manual Upload and Activation Process
Once you have your FTP client installed and your login details handy, you’re ready to roll. The whole process is really just three main actions: get the plugin files, connect to your server, and put them in the right place.
First, head to the plugin's source (like the WordPress repository or a developer's site) and download it. It will almost always be a .zip file. Here’s the key difference from the dashboard method: you need to unzip this file on your local computer. This will create a new folder named after the plugin, and that folder is what you'll be uploading.
Next, open your FTP client and plug in your credentials to connect to your server. You’ll see an interface that's split in two—your local computer's files on one side and your server's files on the other. You need to navigate to the correct directory on the server side.
The path is almost always the same for a standard WordPress site: find your root folder (often named
public_html), then click into thewp-contentfolder, and finally, open thepluginsfolder.
This plugins directory is where WordPress keeps all your plugin files. Now, on your local side, find that unzipped plugin folder you just created. All you have to do is drag it from your local files and drop it directly into the plugins folder on the server. The transfer will start, and it might take a few moments depending on the plugin's size.
Once the upload finishes, the plugin's files are on your site, but WordPress doesn't know about them yet. For the final step, log back into your WordPress admin dashboard and navigate to the Plugins page. You should see your newly uploaded plugin sitting there in the list. Just click the Activate link, and you're all set.
The Pro Method: Installing Plugins with WP-CLI
For anyone managing multiple WordPress sites or who just prefers the raw speed of a terminal, installing plugins via the command line is a total game-changer. This method uses the WordPress Command Line Interface (WP-CLI), a powerful tool that lets you bypass the graphical admin interface entirely for lightning-fast management.
To get started, you'll need SSH access to your server, which is pretty standard with most managed hosting plans these days. Once you're connected, you can perform complex actions with simple, one-line commands. It’s the best way I know to streamline a workflow, especially for those repetitive setup tasks.
Core Commands for Plugin Management
WP-CLI transforms lengthy, click-based processes into instant actions. Instead of navigating through menus to search, install, and then activate a plugin, you can chain commands together for maximum efficiency. Honestly, it feels like having superpowers for your WordPress site.
A few essential commands form the foundation of WP-CLI plugin management:
wp plugin search [keyword]: Find plugins directly from the official repository without ever opening a browser.wp plugin install [plugin-slug]: Once you know the plugin's name (its "slug"), this command downloads and installs it.wp plugin activate [plugin-slug]: This command flips the switch, making the installed plugin live on your site.
Let's say you want to install the popular Yoast SEO plugin. You'd just type wp plugin install wordpress-seo --activate. That --activate flag is a handy shortcut that combines the install and activate steps into one fluid motion.
By mastering WP-CLI, you move from being a WordPress user to a WordPress power administrator. It’s an essential skill for automating deployments, managing client sites, and recovering a site when the admin dashboard is inaccessible.
Advanced and Real-World Examples
The real strength of WP-CLI shines when you start combining commands or using its more advanced features. This is where you can save a significant amount of time, especially when setting up a new website or performing routine maintenance across several properties.
Imagine you're launching a new site and need your standard toolkit: a security plugin, a caching plugin, and an SEO plugin. Instead of clicking through the dashboard three separate times, you can run a single command:
wp plugin install wordfence wp-rocket wordpress-seo --activate
That one line installs and activates all three plugins at once. It’s that easy.
WP-CLI is also invaluable for troubleshooting. If a plugin update breaks your site (and we've all been there), you can quickly roll back to a previous, stable version. For instance, to revert the Akismet plugin to version 5.0, you would use this command:
wp plugin install akismet --version=5.0 --force
The --force flag tells WordPress to overwrite the current version with the one you've specified. This level of precise control simply isn't available through the standard dashboard, making WP-CLI an indispensable tool for developers and professional site managers learning how to install plugins to WordPress efficiently.
Smart Plugin Management for a Healthy Website
Knowing how to install a WordPress plugin is just the first step. The real skill lies in managing them over the long haul to keep your website fast, secure, and reliable. Think of your installed plugins like tools in a workshop—they need regular maintenance to perform their best and not become a liability.
The most critical part of this is keeping everything updated. When a developer releases an update, it's rarely just about adding a shiny new feature. More often, it’s about patching security holes that could leave your site wide open to attacks. Proper, timely maintenance is your first line of defense.
Deactivating vs. Deleting Plugins
When you're done with a plugin, it's tempting to just click "Deactivate" and move on. This is a common mistake that can come back to haunt you. A deactivated plugin still leaves its files sitting on your server, which can become a serious security risk if a vulnerability is discovered in that code later on.
The best practice is simple: if you aren't using it, delete it.
- Deactivating: This just turns the plugin off. The code stays on your server, like leaving an unused power tool plugged in on the workshop floor. It's not running, but it's still there and could cause problems.
- Deleting: This completely removes all the plugin's files from your website. It's the cleanest and most secure option for any tool you've decided to retire.
Properly removing plugins you don't need also reduces "code bloat," which is a fancy way of saying it helps keep your site lean and fast.
The Dangers of Nulled Plugins
While searching for premium plugins, you might stumble across websites offering them for free. These are called nulled plugins—they're pirated versions of paid software, and installing them is one of the fastest ways to get your site hacked. They are almost always packed with malicious code designed to steal data, redirect your traffic, or inject spam into your pages.
Never, ever install a nulled plugin. The upfront "savings" are not worth the immense risk of a compromised website, which can destroy your reputation and cost a fortune to fix.
Always buy your plugins directly from trusted developers or reputable marketplaces. It's a small price to pay for peace of mind.
Why Less Is Often More
It’s easy to get excited and install a plugin for every little feature you can imagine. But in my experience, a "less is more" approach is almost always better for your site's health. Each active plugin adds more code that has to be loaded, which can slow down your site's performance. More importantly, more plugins mean a larger attack surface for potential security threats.
This amazing extensibility is what makes WordPress so powerful, but it comes with responsibility. Of the 59,000+ free plugins available in the official directory, it's been shown that outdated plugins account for roughly 95% of WordPress security vulnerabilities. That single stat highlights the need for both regular updates and careful selection.
Before you click "Install," ask yourself if the function is truly essential. Sometimes, a feature can be added with a small code snippet or is already built into your theme. For instance, if you want to add new income streams, you could research a practical guide to affiliate marketing plugins on WordPress to find one high-quality tool that does everything you need instead of installing several smaller, single-purpose ones.
A lean, well-managed plugin library is the hallmark of a professional and healthy website.
Common Questions About WordPress Plugins
When you're just getting the hang of WordPress, a few common questions and roadblocks always seem to pop up with plugins. This is your quick-reference guide for the real-world issues you're most likely to hit. No fluff, just the straightforward answers you need to keep your site running smoothly.
So, let's jump into the questions we hear most often.
What if an Installation Fails or Breaks My Site?
First off, don't panic. If activating a plugin gives you the dreaded "white screen of death," the fix is usually pretty simple. The key is to get access to your server's files using an FTP client.
Once you're connected, head over to the wp-content/plugins directory. From there, just find the folder for the plugin you just activated and rename it. I usually just add -old to the end, like plugin-name-old. That’s it. This instantly deactivates the plugin, and your website should pop right back online. This is exactly why having a recent backup before installing any new plugin is a non-negotiable best practice.
How Many Plugins Are Too Many?
This is less about hitting a magic number and more about the quality and purpose of each plugin. I’ve seen sites with 10 well-coded, essential plugins that run circles around sites with just three bloated, inefficient ones grinding everything to a halt.
The real key is to only keep what you truly need.
As a rule of thumb, most websites on standard shared hosting should aim to stay under 20 active plugins. This helps you sidestep performance bottlenecks and shrinks your site's potential security attack surface. Make it a habit to audit your plugin list every few months and get rid of anything that isn't pulling its weight.
Is It Safe to Use Plugins from Outside the Official Directory?
It can be, but you have to be incredibly careful. Reputable premium plugins from trusted developers—think companies like WP Rocket or Gravity Forms—are sold directly from their own websites and are perfectly safe.
The real danger comes from sketchy third-party marketplaces or sites offering "nulled" (pirated) premium plugins for free. These are almost always packed with malware that can hijack your site, steal customer data, or worse. Stick to the official WordPress.org repository or buy directly from well-known, established developers.
And if you ever suspect a plugin is conflicting with another one on your site, our troubleshooting documentation has some steps that can help you diagnose the problem.
At Ship Restrict, we provide a high-quality, secure plugin to automate shipping compliance for your WooCommerce store, so you can focus on your business with confidence. Learn more about how Ship Restrict can protect your store.
Automate Shipping Compliance
Stop worrying about restricted states. Ship Restrict handles it automatically.

Cody Yurk
Founder and Lead Developer of ShipRestrict, helping e-commerce businesses navigate complex shipping regulations for regulated products. Ecommerce store owner turned developer.
Automate Shipping Compliance
- Block restricted states
- No more cancellations
- Set and forget
3-day free trial · Card required